About this hike
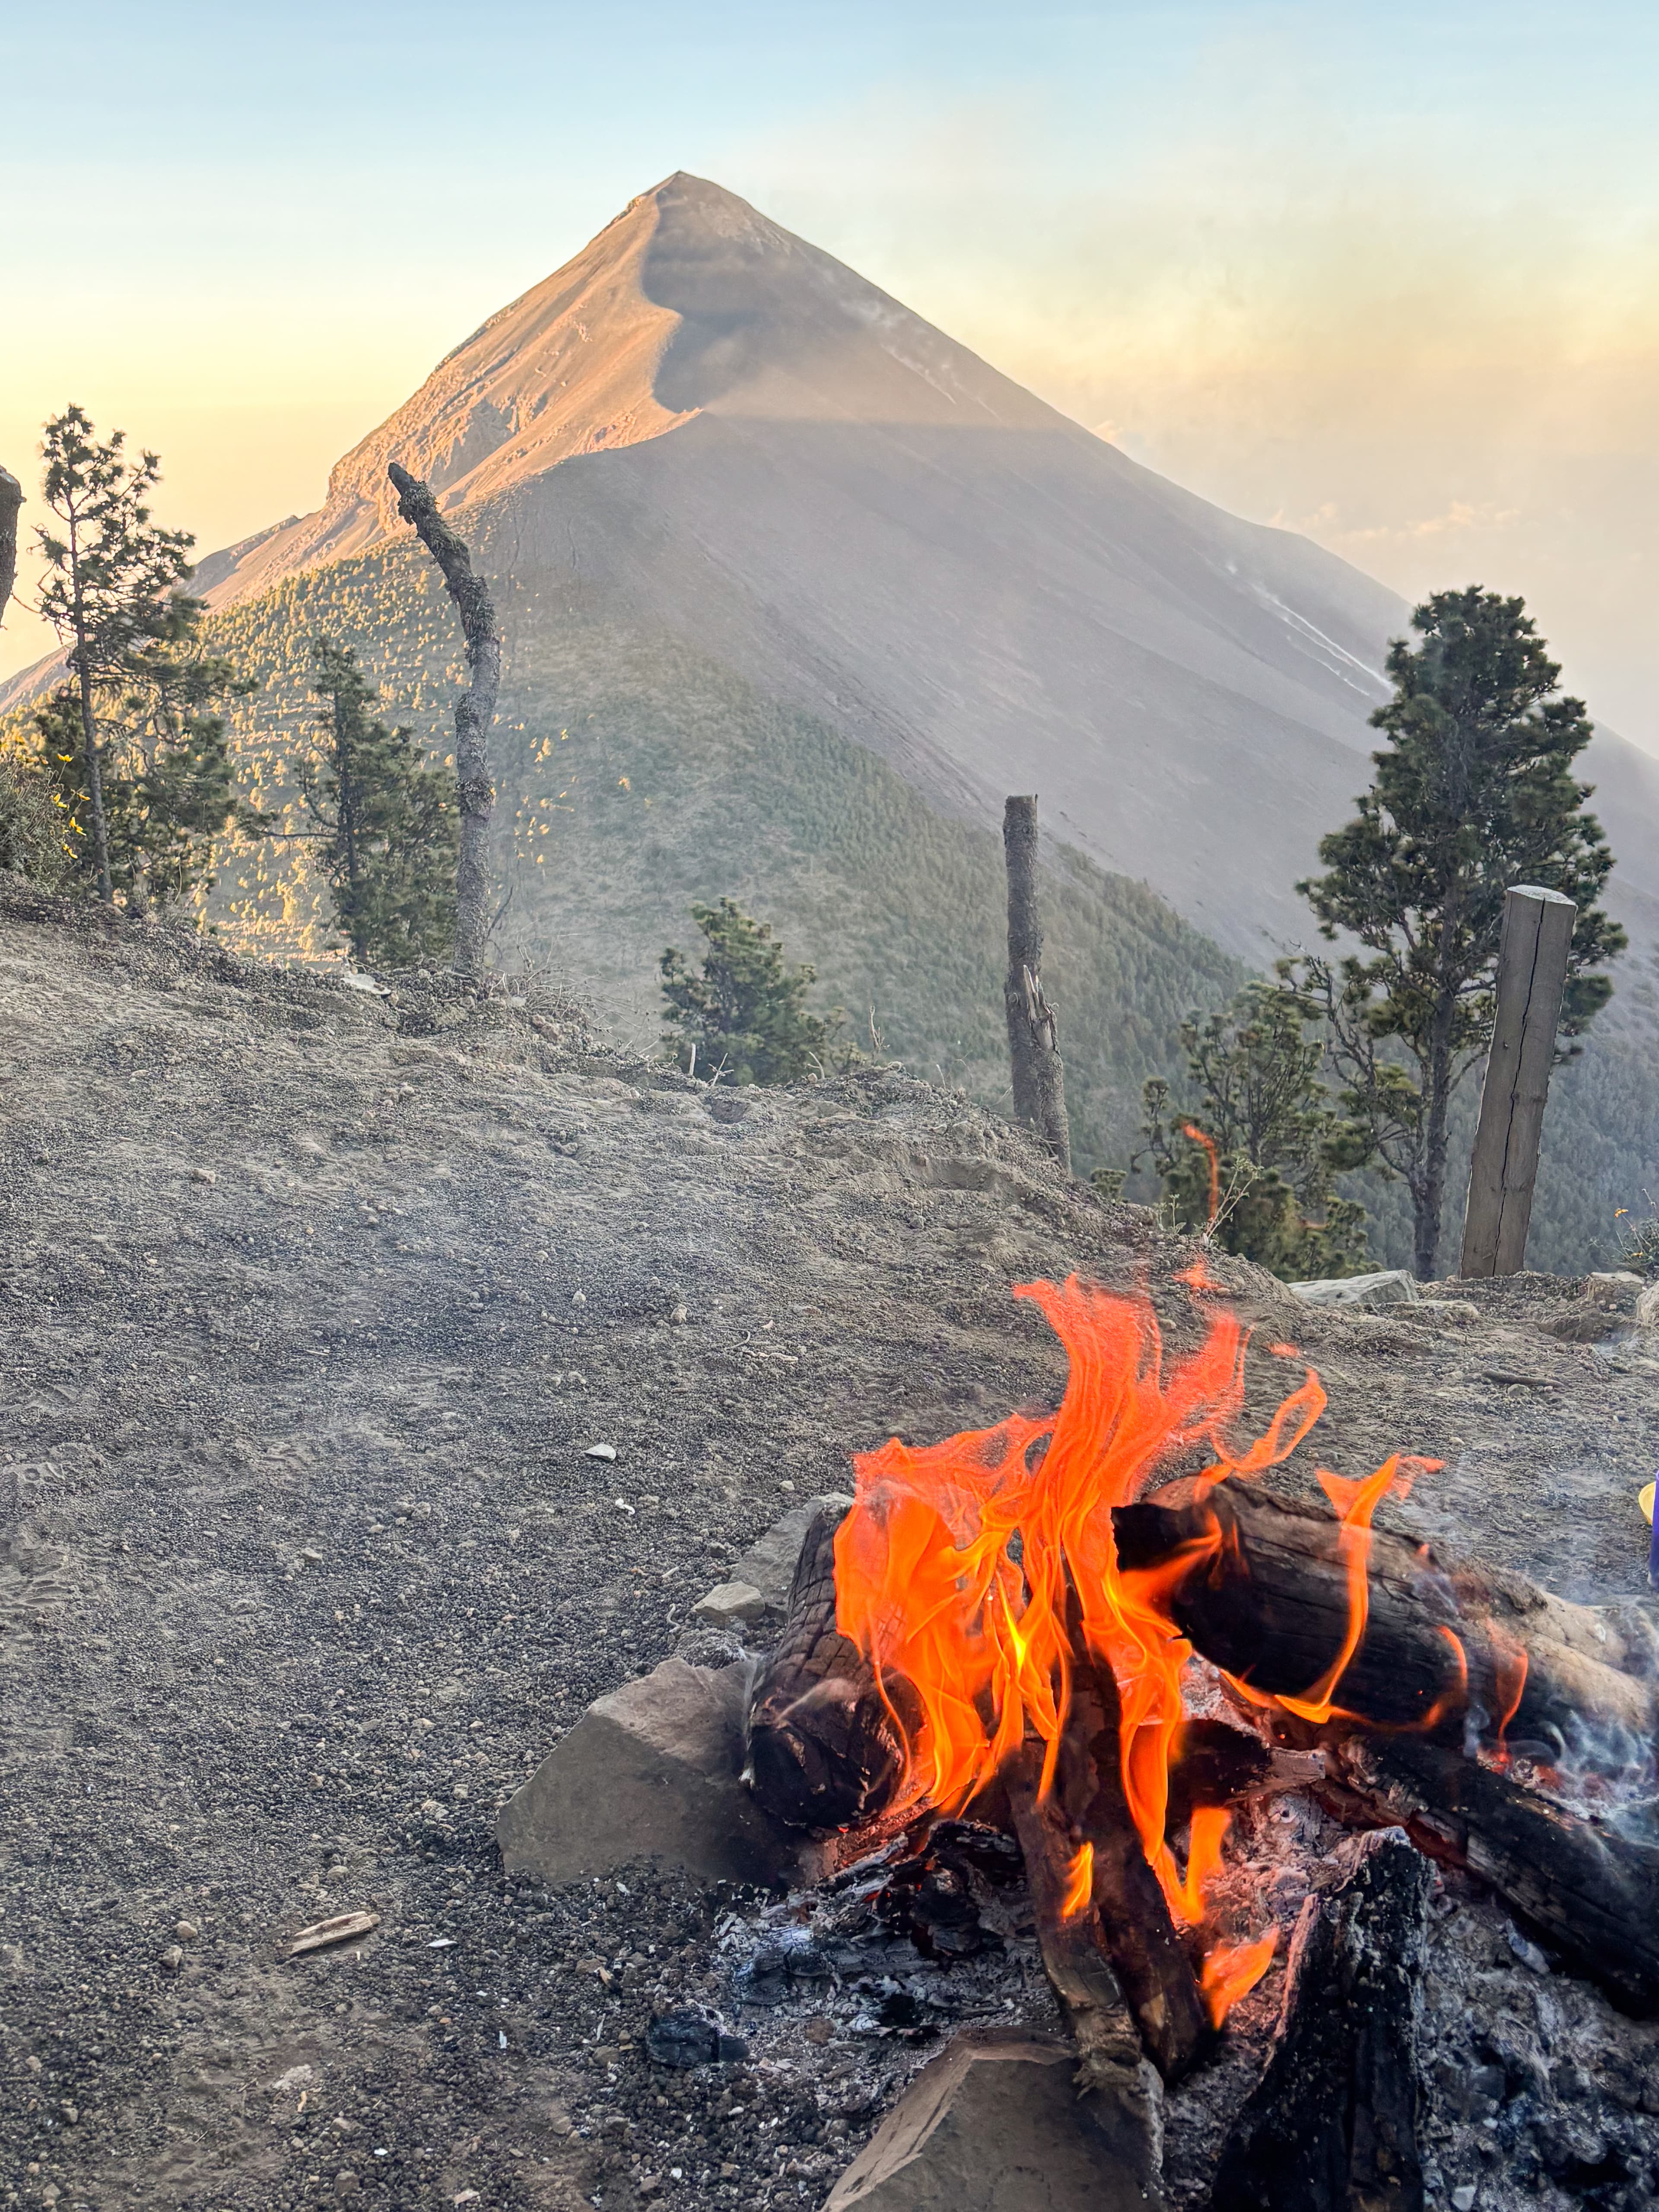
Acatenango is a dormant volcano in Guatemala (its last eruption was back in 1972), sitting about an hour's drive from Antigua. Most tour companies run a 2-day hike with one night at a base camp on Acatenango's flank, where the view opens onto its very-much-active neighbor, Volcán de Fuego.
The terrain is brutal to navigate. The volcanic soil is ashy and unstable — the kind where every two steps forward send you sliding one step back. Add a sharp incline and the heat (we hiked in high season), and energy drains fast.
Picture it: you're pushing your body up while the ground slides out beneath you, and every step from the group ahead kicks up dust that makes it hard to breathe — for roughly five to six hours of ascent up to base camp. That doesn't sound like fun, and you're probably wondering why anyone does this at all. Don't worry, I'll get into that in a minute.
Is Hiking Acatenango Safe for Solo Female Travelers?
Group dynamics & the safety landscape
First, the thing that surprises most people: doing this hike completely alone, with no guide, isn't really an option. You buy a tour from a certified operator — companies that meet health and safety requirements, have years of experience taking groups up the volcano, and are responsible for getting you up and back down safely.
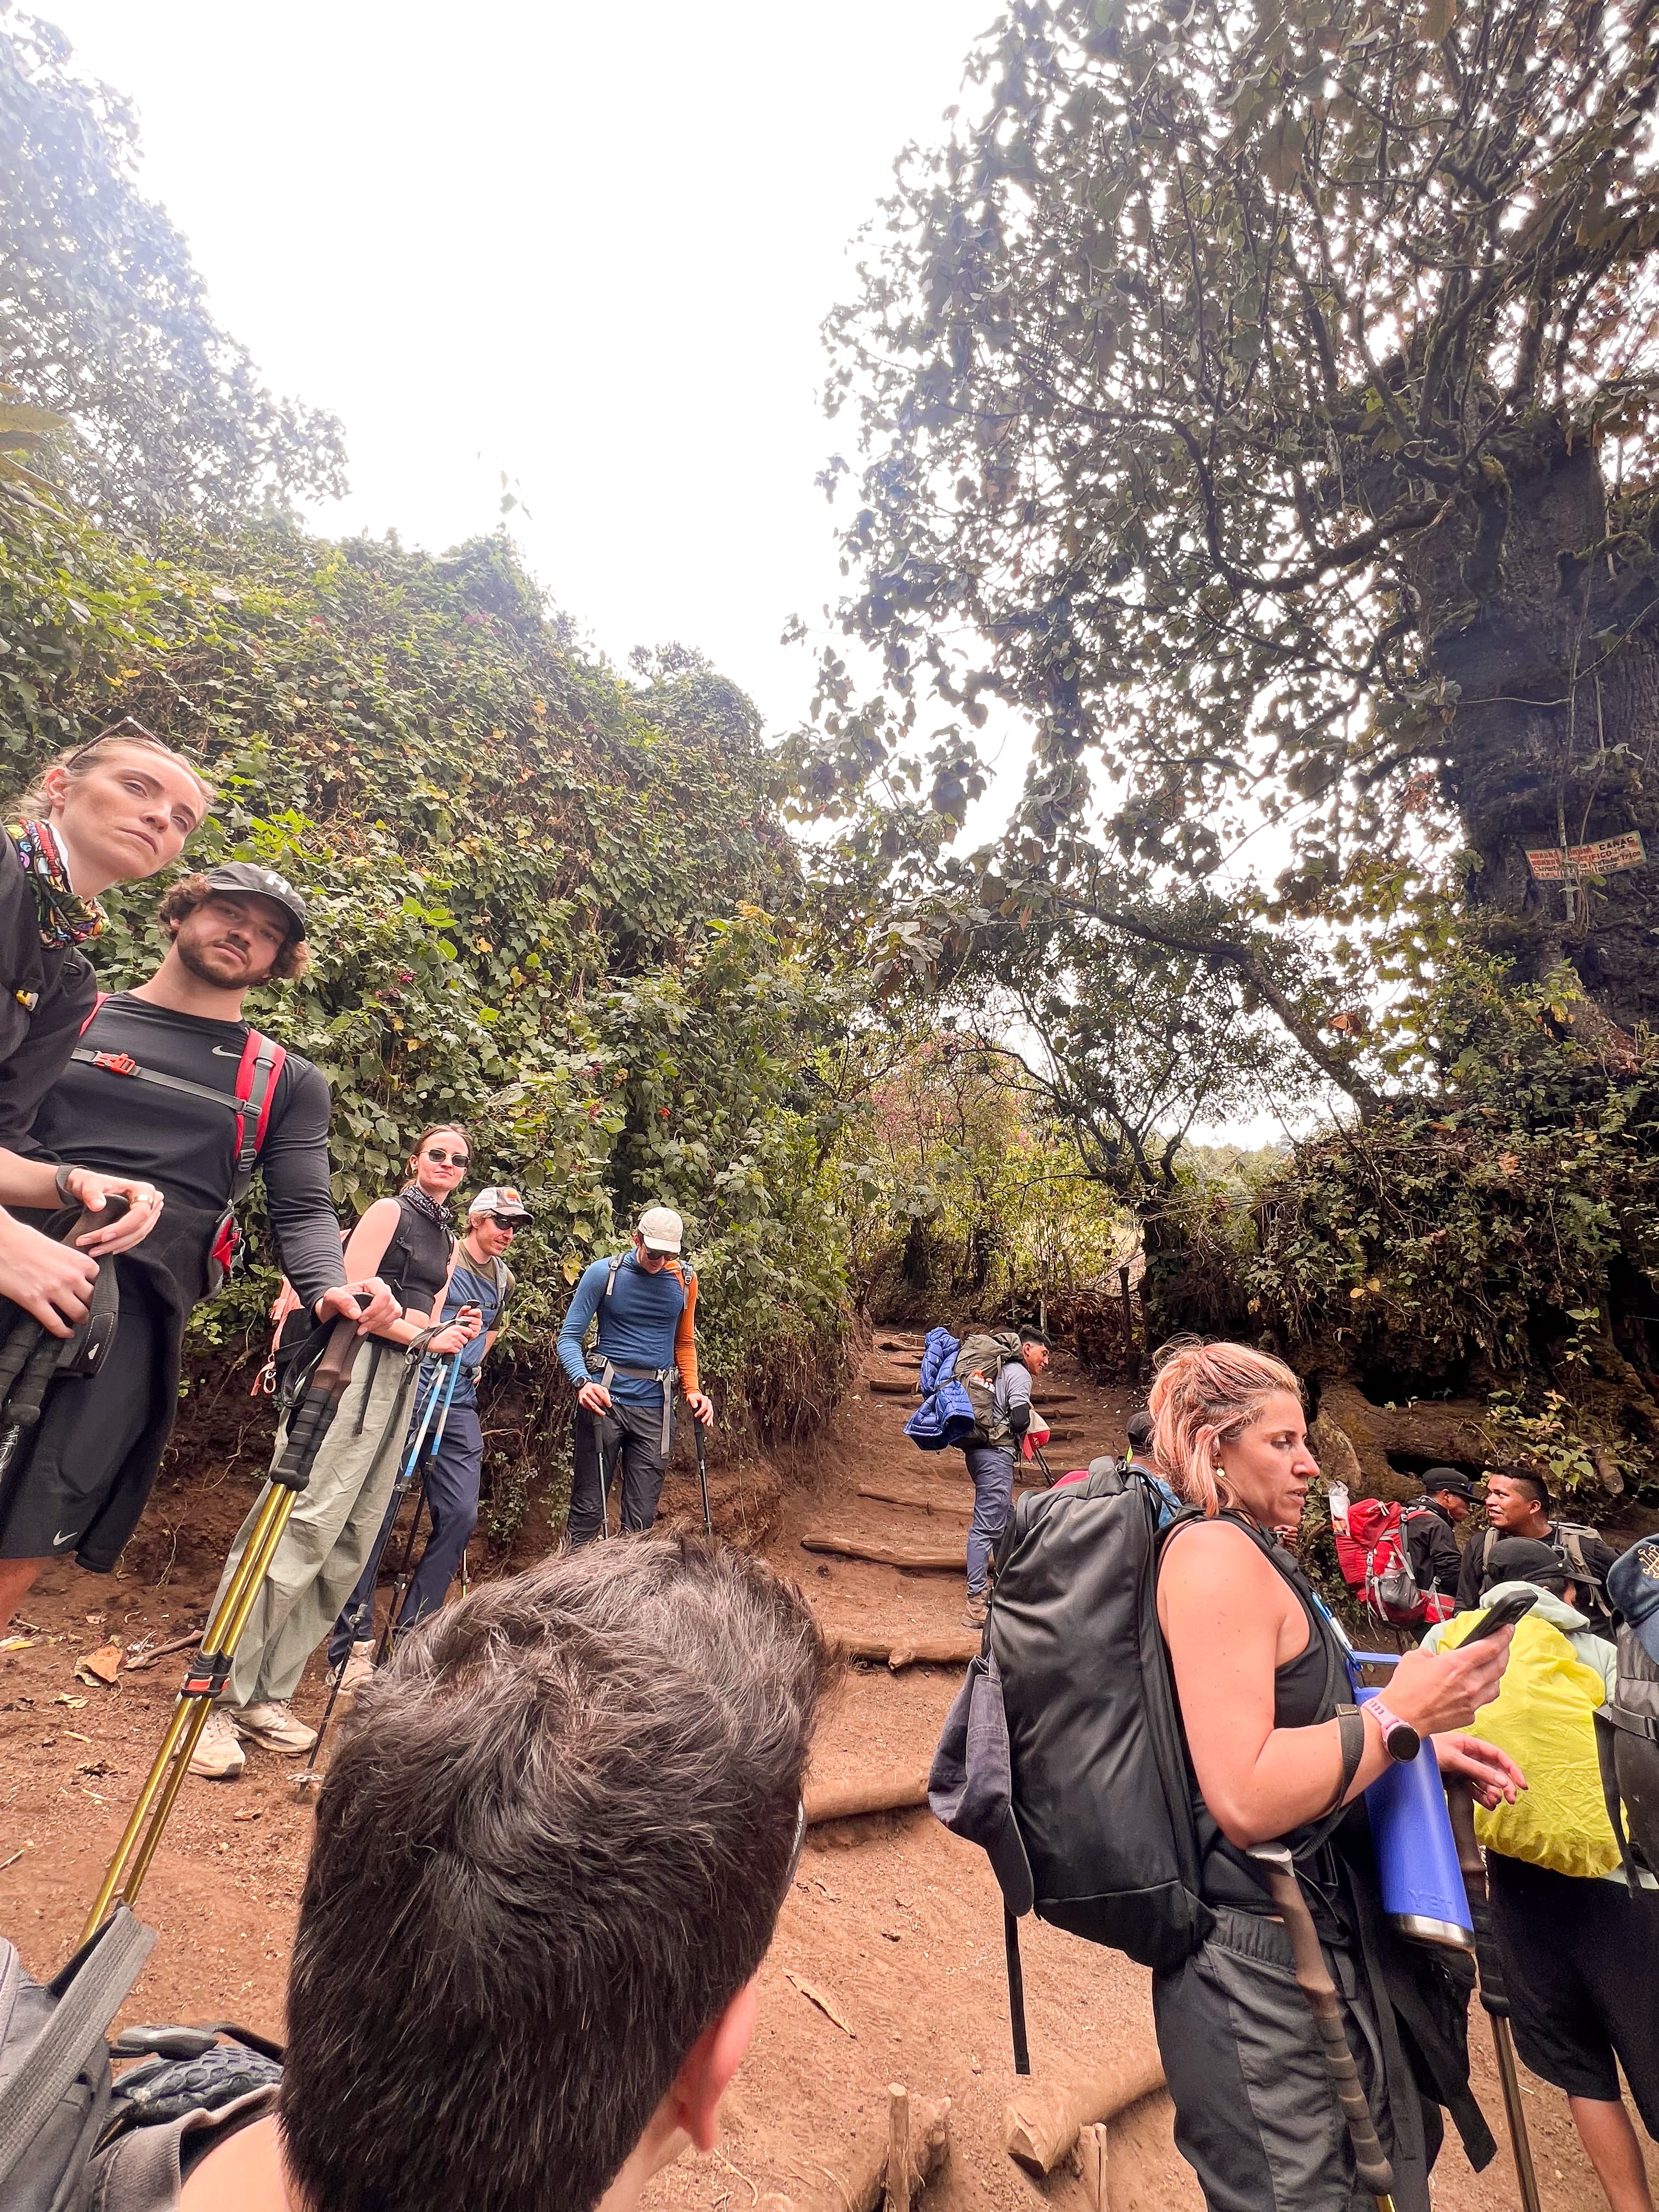
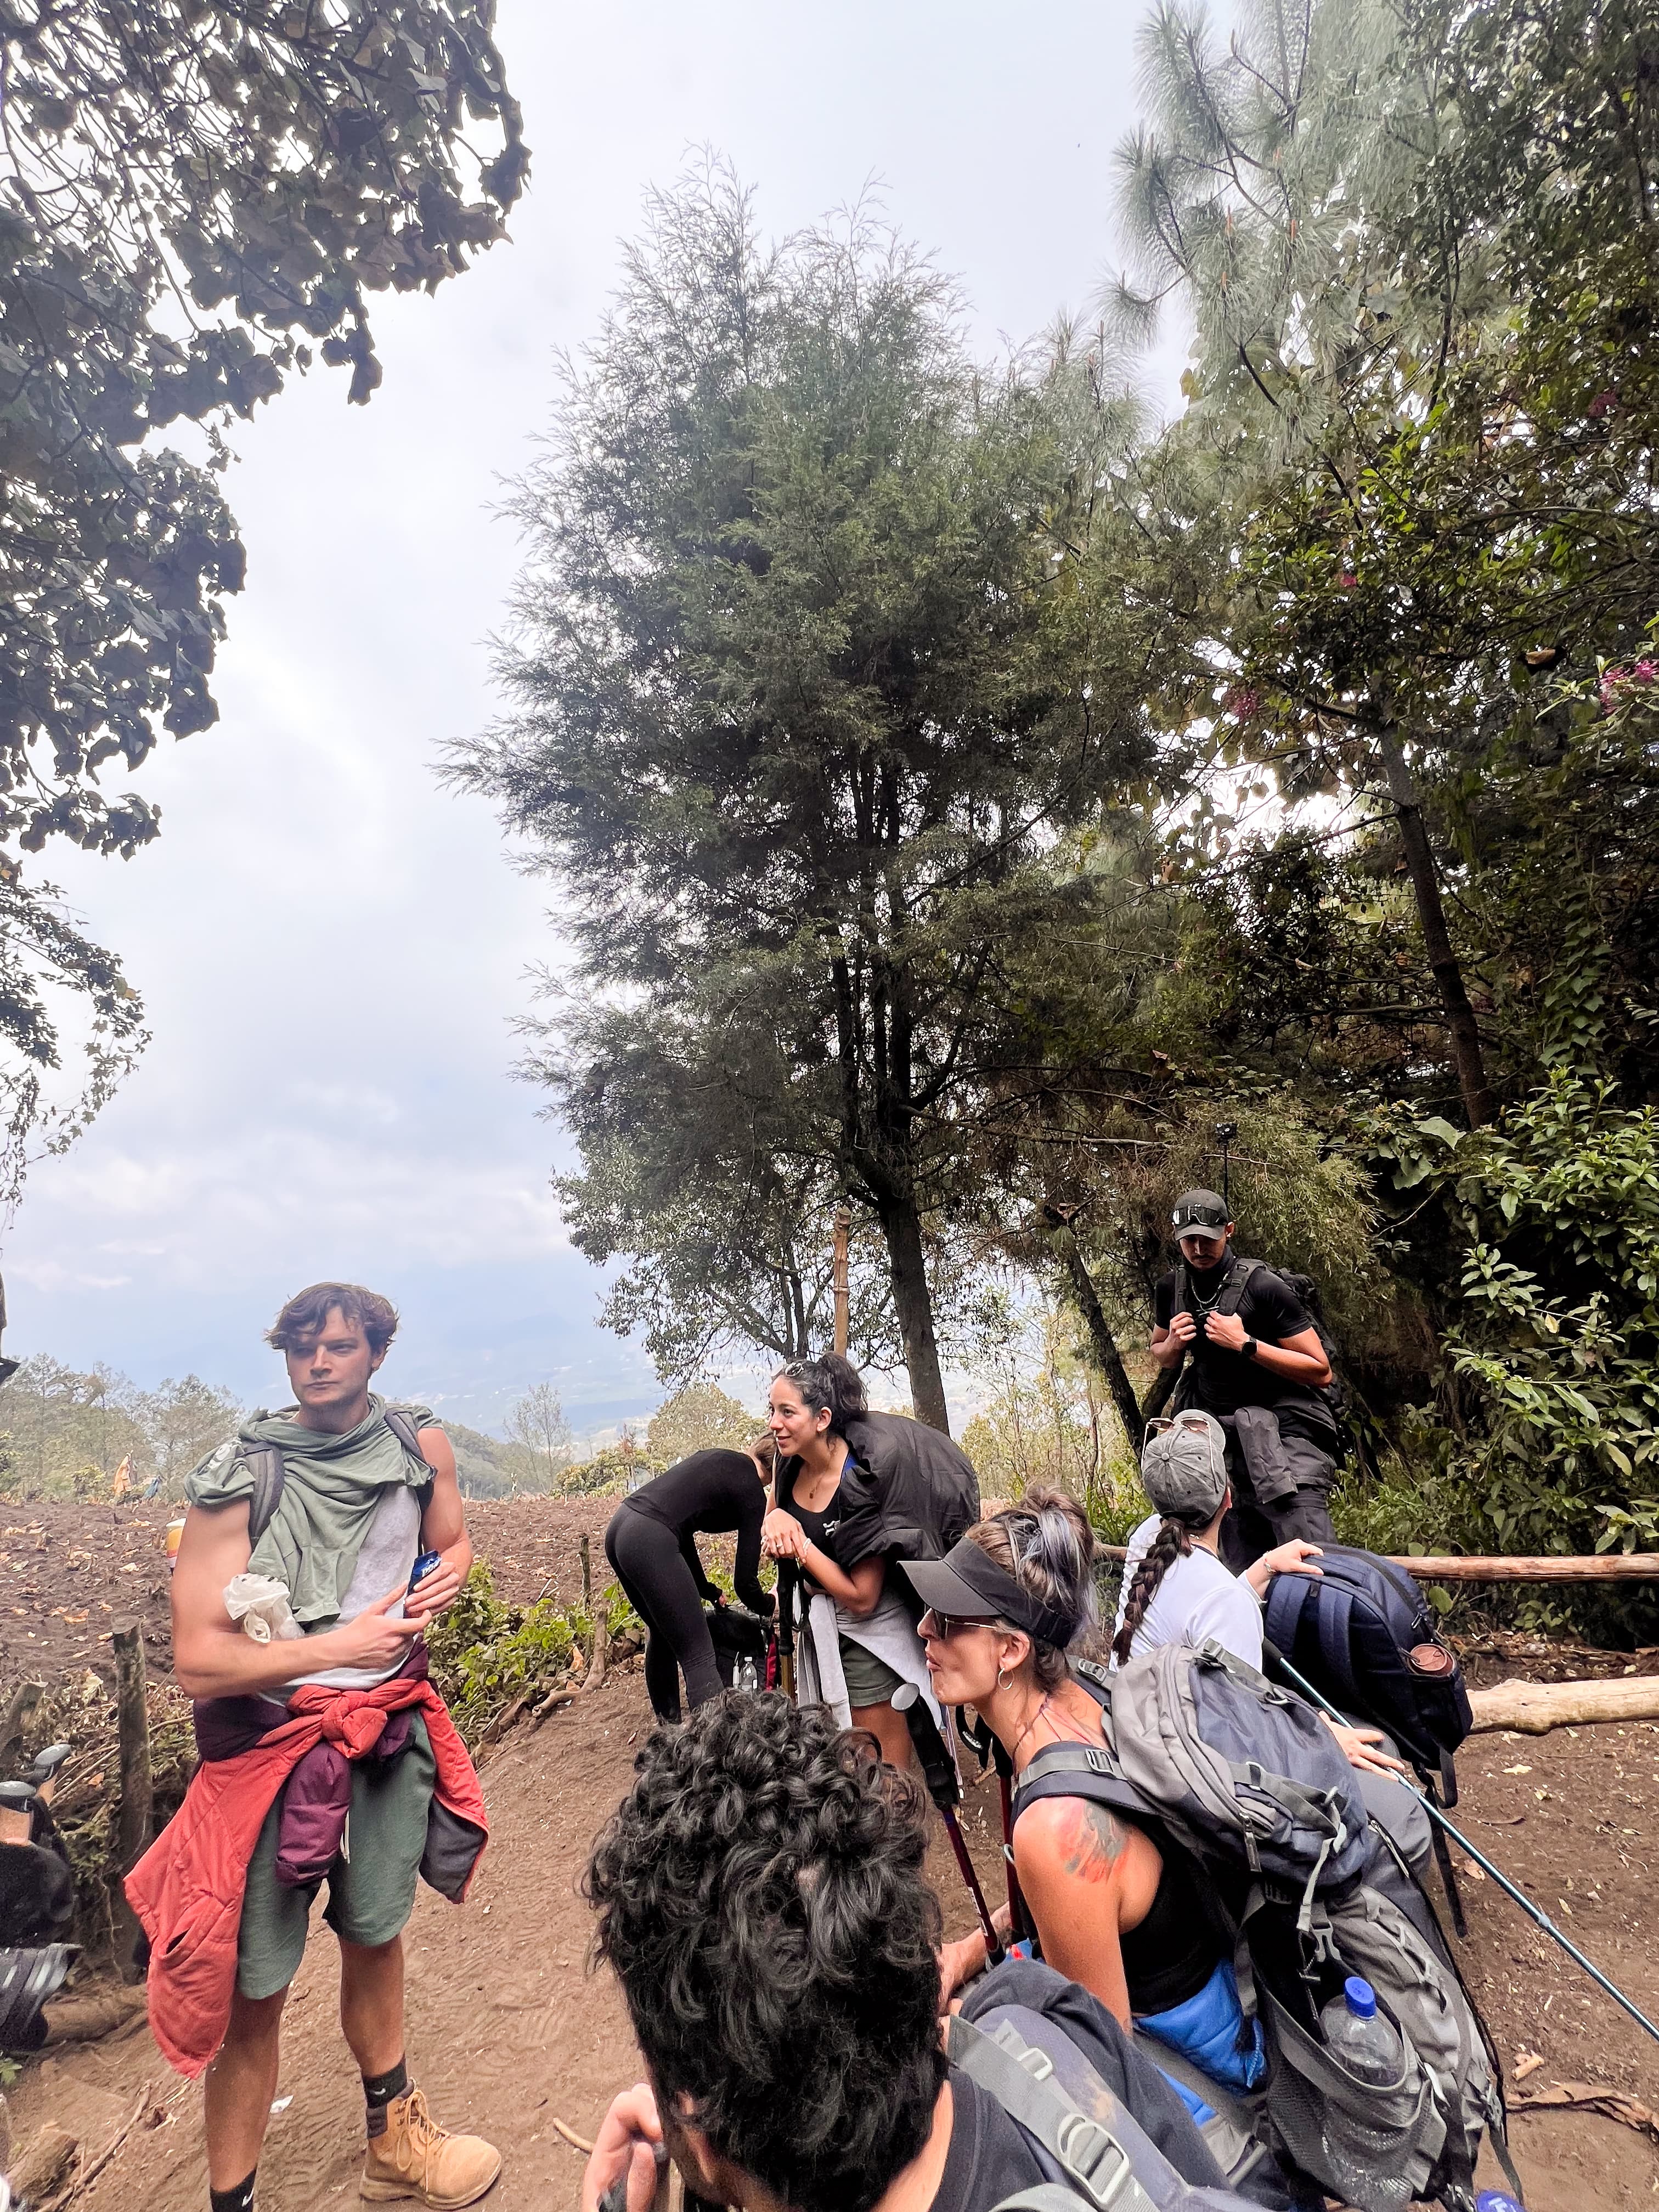
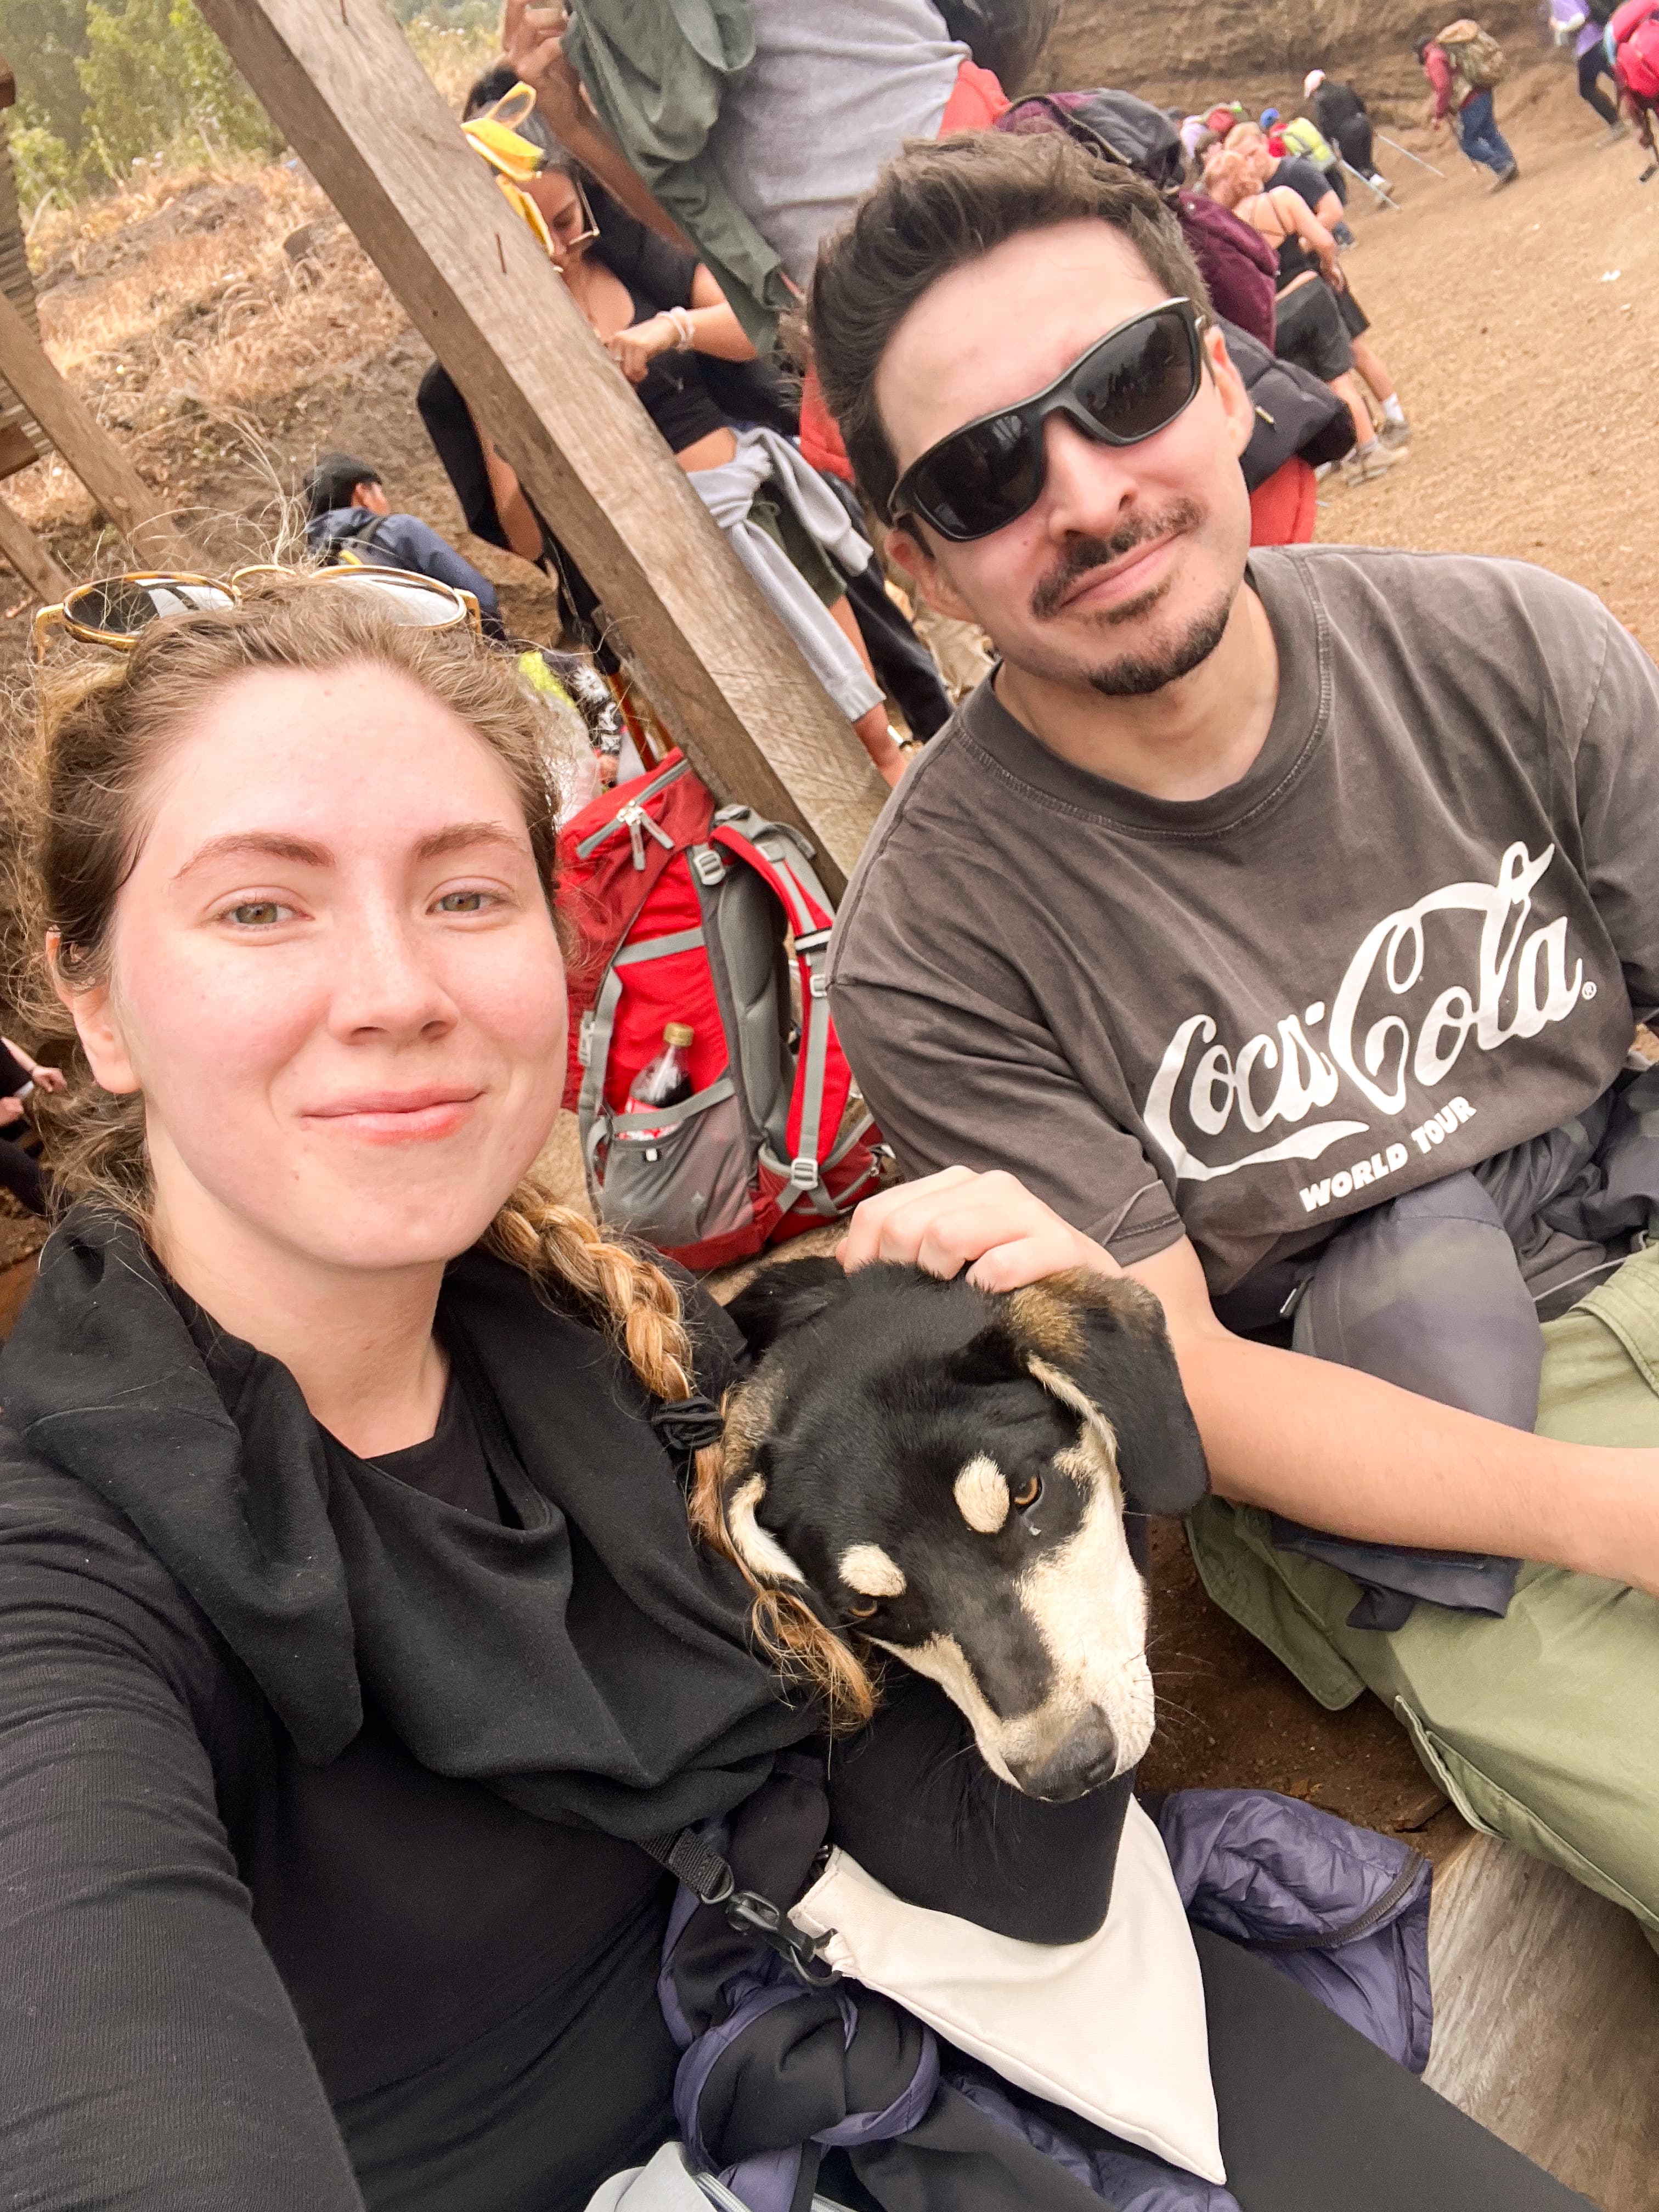
Second, on feeling lonely: this climb is strenuous enough that it attracts a specific, self-selecting kind of person — adventurous by nature — and that creates a genuinely supportive community on the mountain. By the end, I felt like those people were family, because we'd been through a once-in-a-lifetime, do-or-die experience together.
Physical safety: altitude sickness and trail conditions
As I mentioned, the trail is mostly loose, slippery volcanic rock. It demands double the effort to climb, throws off even normally good balance, and puts an enormous load on your knees. Walking poles are a must — you genuinely won't want to do it without them. (Full gear list further down.)
Altitude sickness is no joke and can hit you hard, wrecking the whole experience on an already challenging trail. I flew in straight from Medellín, where I'd spent a full month, so my body had adjusted to altitude well. If you're coming from anywhere near sea level, I strongly recommend spending 2–3 days in Antigua to acclimatize first. Some people in our group used altitude-sickness pills because they wanted to knock the hike out in a single weekend, and the pills worked okay. But the best thing for your body is to actually acclimate.
One important note: Acatenango should absolutely not be your first-ever hike. Here's my big-sister advice to you — take it seriously.
Choosing the Best Acatenango Tour Operator (An Honest Comparison)
There are essentially three tiers of company offering guided trips up Acatenango. Here's how they compare, including the exact one I did.
Tier 1 — Budget (the tour I did): $89 USD
What was included:
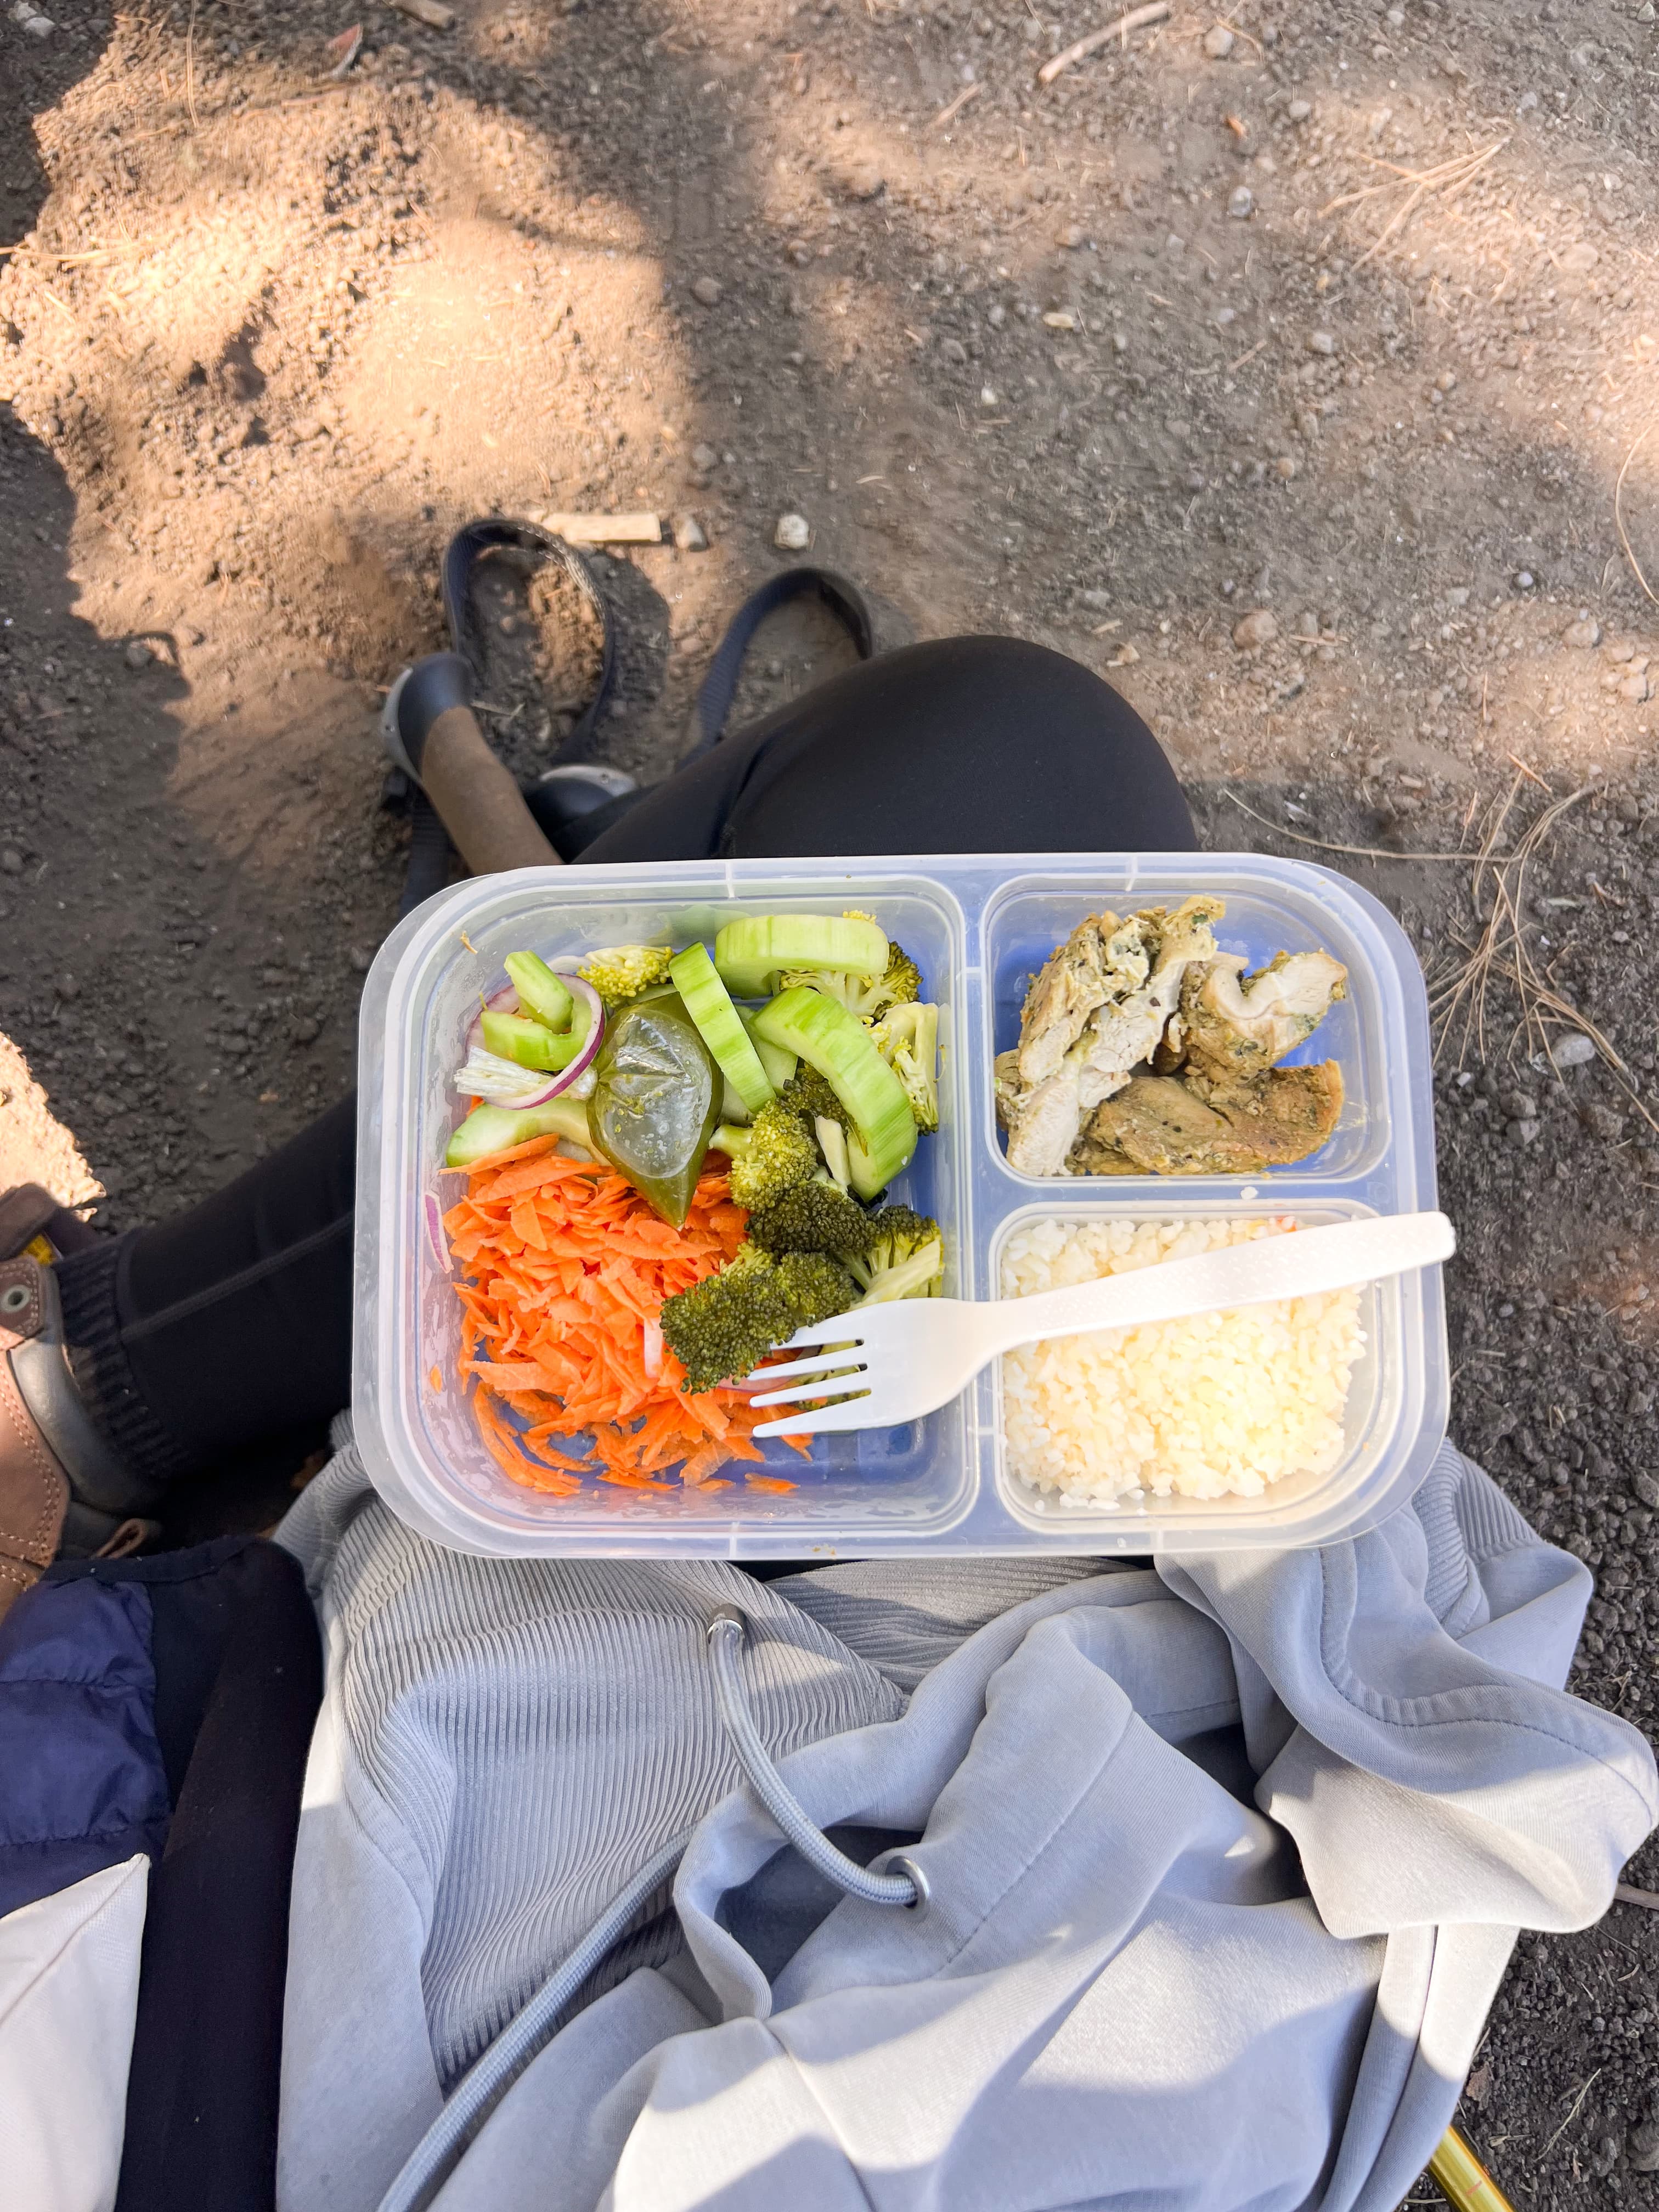
- •Food. The guides gave us lunch and dinner containers that we carried in our own backpacks. At night they served hot chocolate, and in the morning cooked us pancakes.
- •The hike to base camp
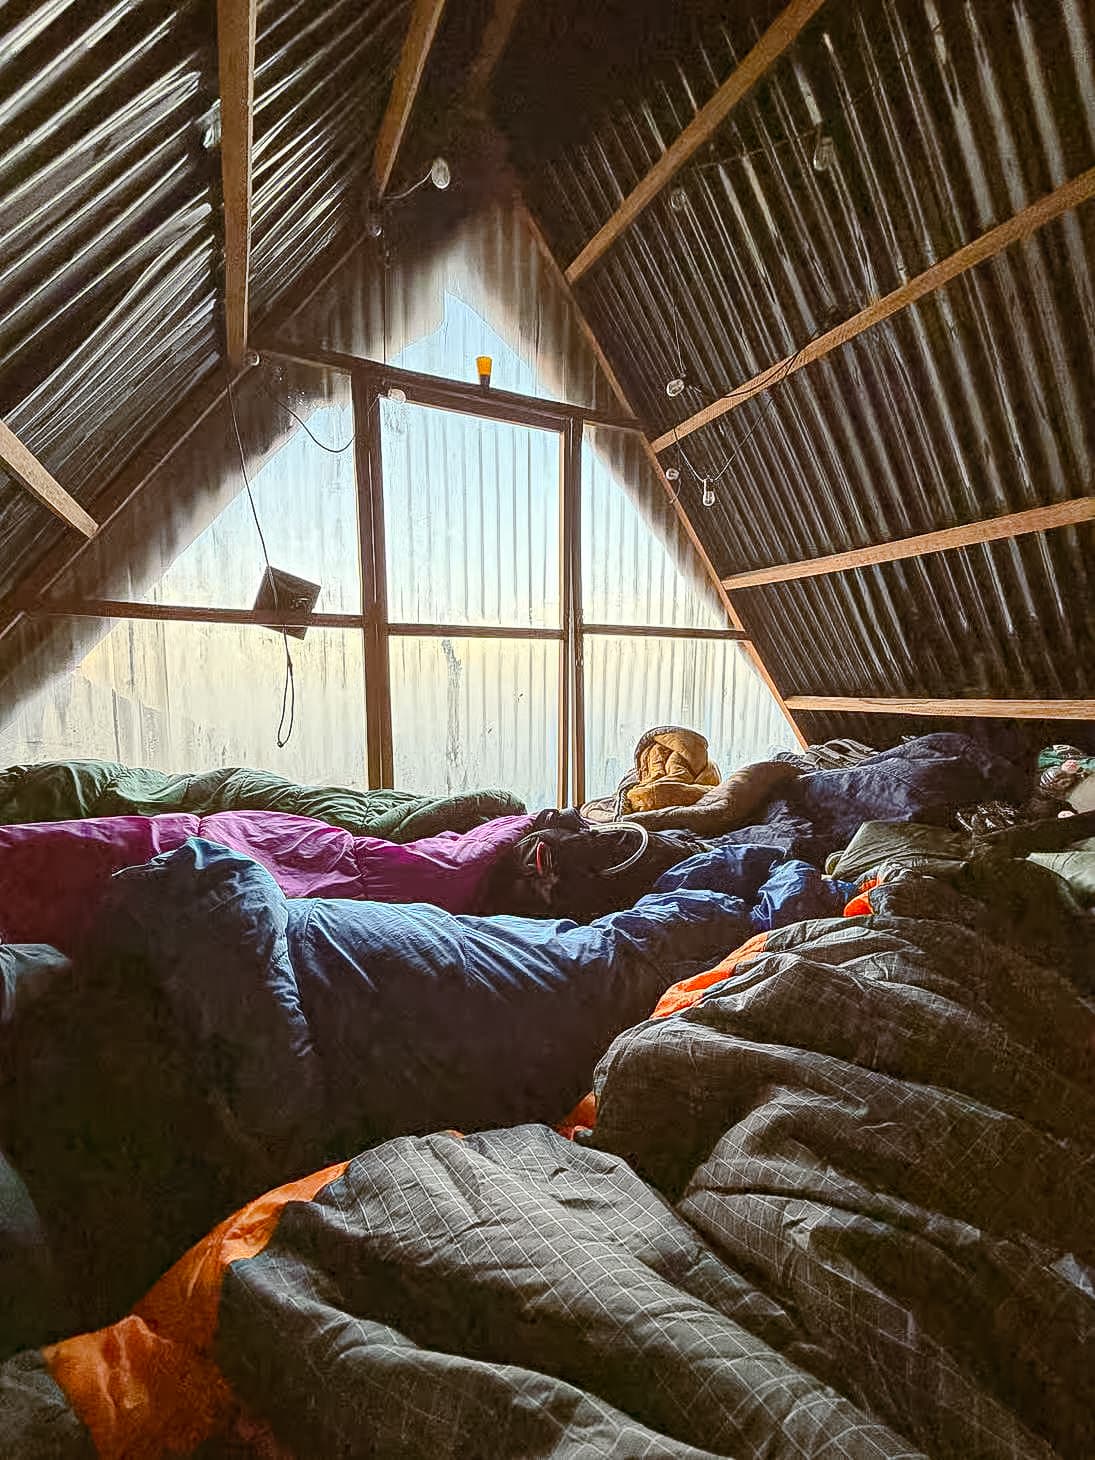
- •A spot in a shared shed or tent. With an individual sleeping bag, shared between 8 people. The downside was zero private space — but that was also a benefit, because it kept us warm.
Not included / available at extra cost:
- •Gear rental: You can rent anything you're missing. I rented a warm jacket, walking poles, a headlamp, and gloves — all absolutely necessary. The condition of the rental clothing could have been better, but during this hike you're fighting for your life, so I'd have taken anything that made it slightly smoother.
- •Backpack porters: You can send your pack ahead with a porter and walk with a daypack. I don't see much point, since you still have to carry 2 L of water, your lunch, and your own snacks for the trail.
- •The Fuego ridge add-on: The section where they take you down to the "knife ridge" to watch lava explode up close — costs an extra $40 USD (305 GTQ).
- •Park entry fee: $13 USD (Q100 per person).
Here's the exact Acatenango overnight tour I did.
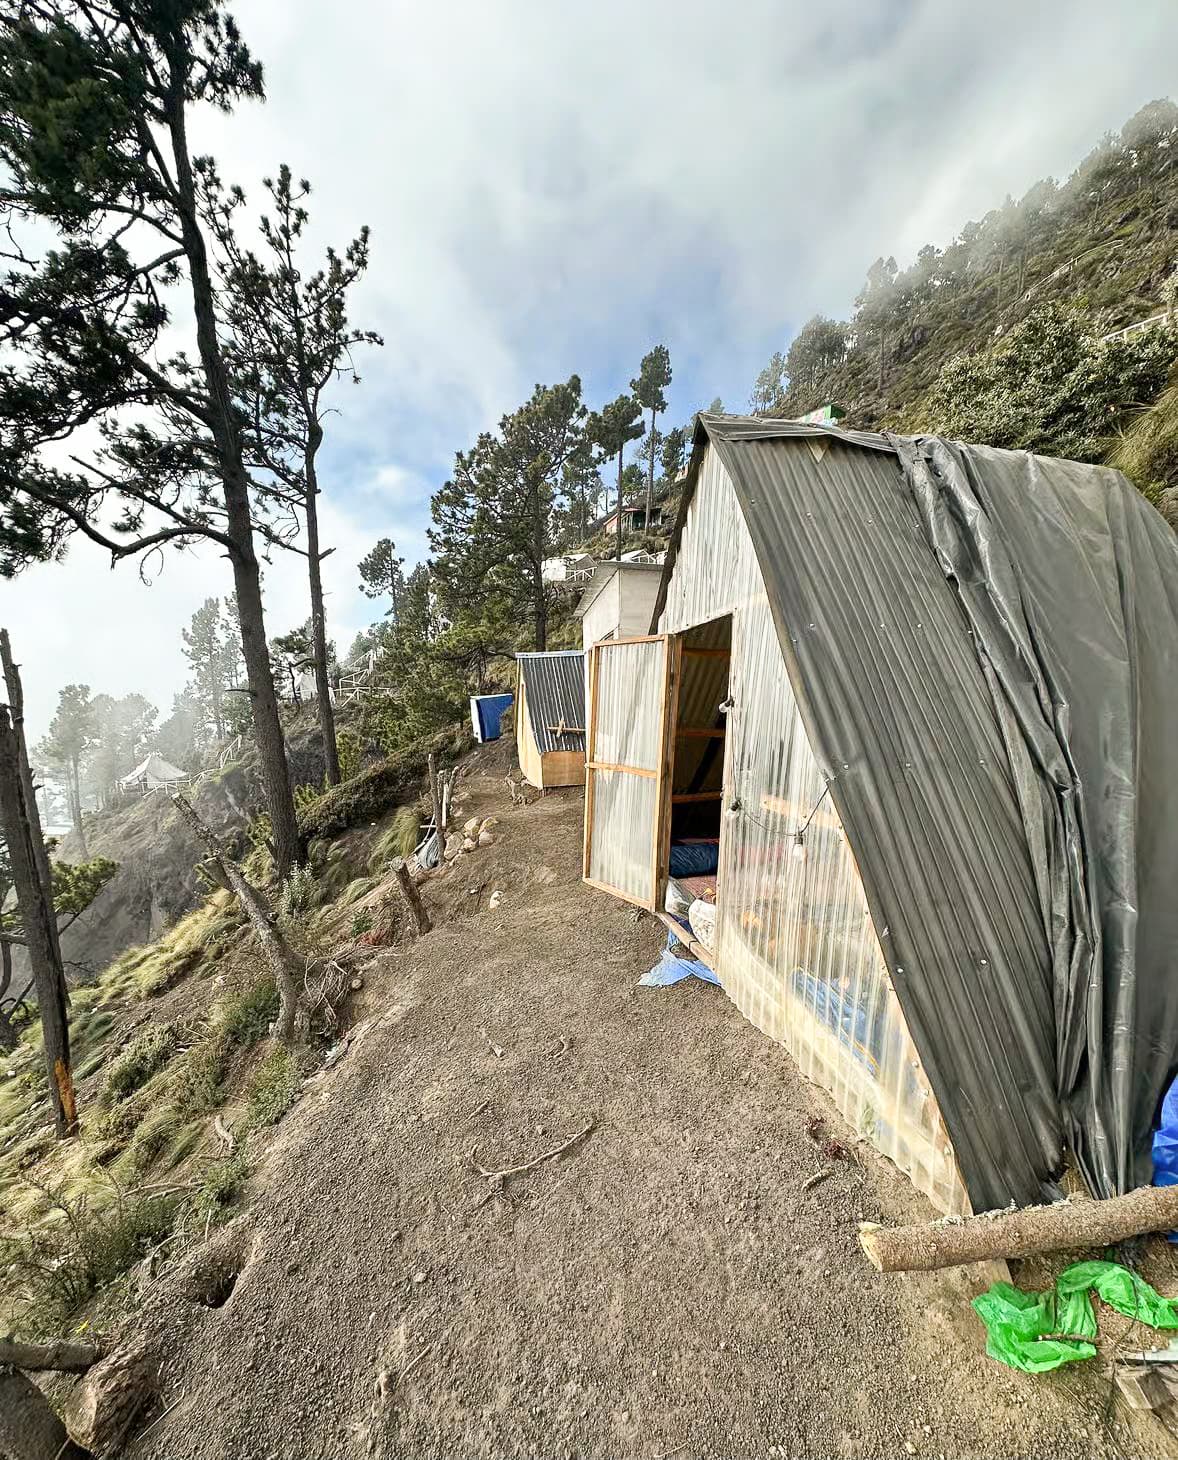
Tier 2 — Mid-range: ~$165 USD (shared cabin, price per person)
My friend did her hike with Wicho and Charlie. They had a nicer, more upscale camp — a decent-looking cabin with a fireplace and clean, well-organized toilets. They offer a 4x4 that carries your bags 75% of the way so you only haul them the last 25% (the less-steep part), or you can hire a porter. Some people in the group even took a jeep to skip a chunk of the early hike and save energy for the Fuego ascent.
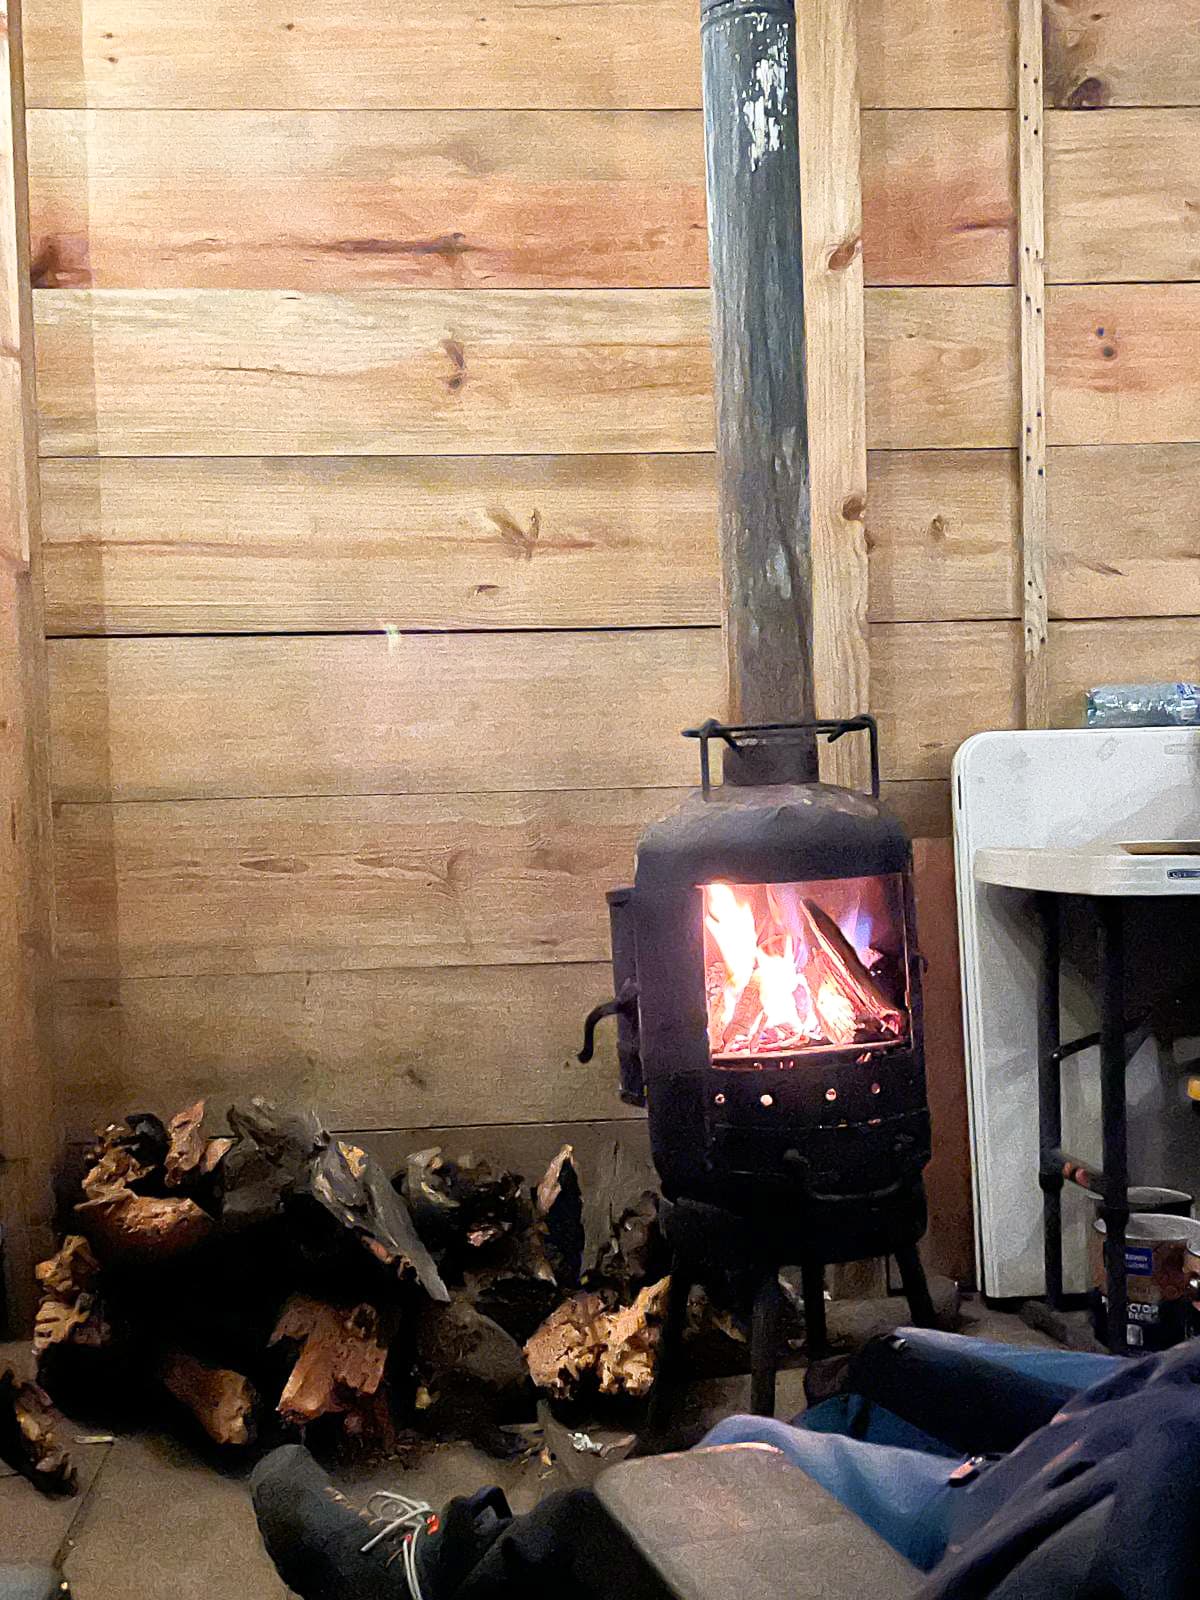
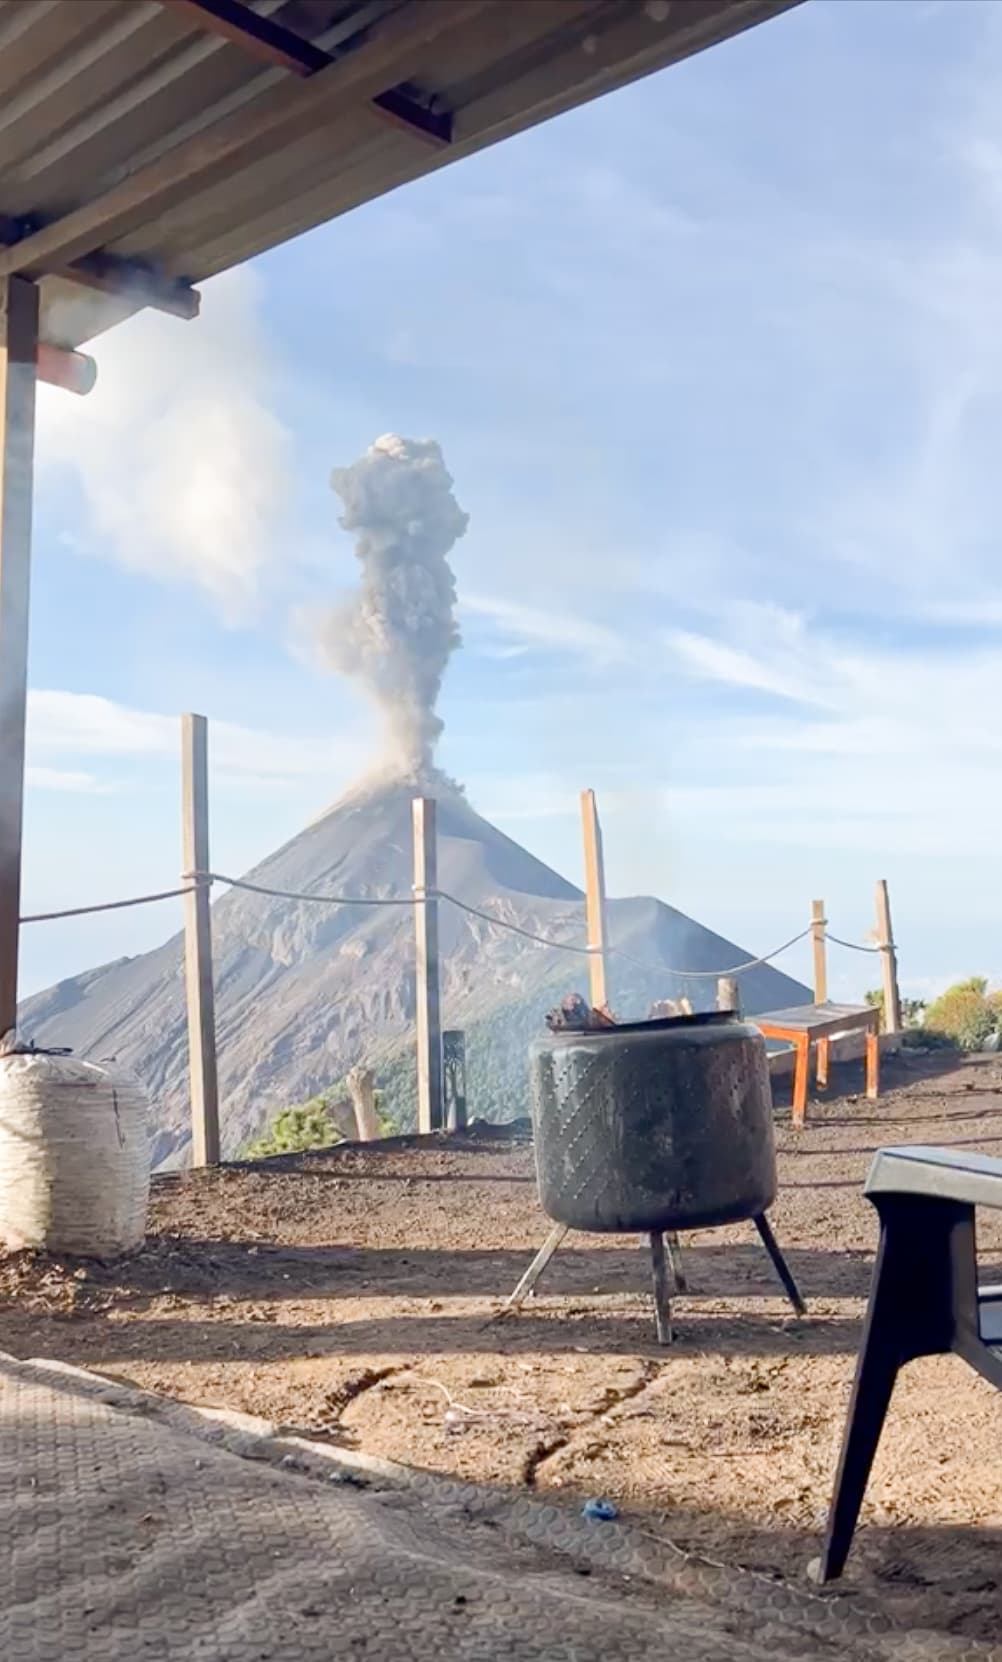
*I have no affiliation with Wicho and Charlie — this is an honest friend recommendation. Other listings I share in this article are part of an affiliate program: if you book through them, I earn a small commission at no extra cost to you.
Tier 3 — Glamping (most comfortable)
This option has a glamping base camp. There's a 4x4 transfer that takes you halfway up so you save energy and only hike the two final stages. The setup is about as comfortable as money can buy: actual beds in a shared tent but with plenty of private space, a proper table, and a front-row view of Fuego erupting.
You can check availability and book the Acatenango glamping option on Viator.
What the Hike Is Actually Like: A Step-by-Step Breakdown
Day 1: The ascent to base camp & the Fuego eruptions
The climb to base camp takes most groups five to six hours, and it walks you through four completely different worlds.
- •Zone 1 — Farmland. You start in the fields above the Mayan village of La Soledad, on a steep gravel track that local families use to reach their corn and snow-pea plots. Don't let the pretty green scenery fool you — this opening stretch is deceptively brutal, and it's exactly where most people who turn back, turn back.
- •Zone 2 — Cloud forest. The trail then ducks into old-growth tropical cloud forest: cooler, shaded, dense with moss and birdsong. This is quetzal country, so keep your eyes up.
- •Zone 3 — High alpine forest. The trees thin into sparse alpine forest and the views crack open — on a clear afternoon you can pick out several other volcanoes stacked across the horizon.
- •Zone 4 — Volcanic. The final push climbs above the treeline onto bare, ashy volcanic slope: wind-exposed, loose underfoot, and the steepest, slowest part of the day. This is the two-steps-up, one-slide-back terrain I warned you about.
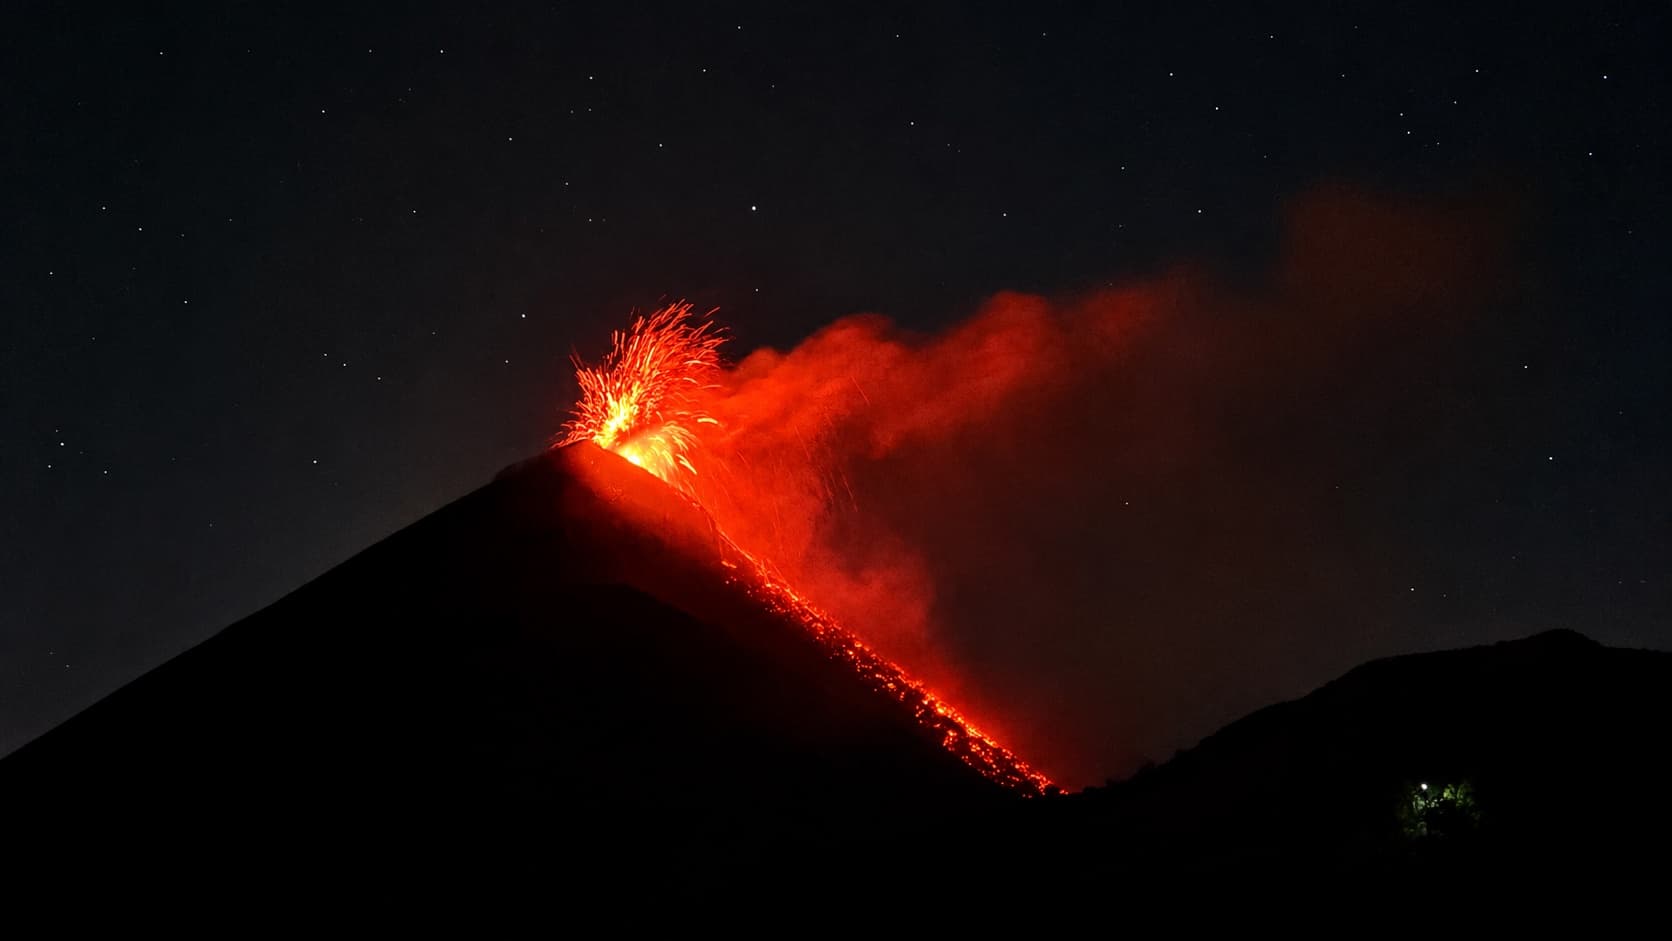
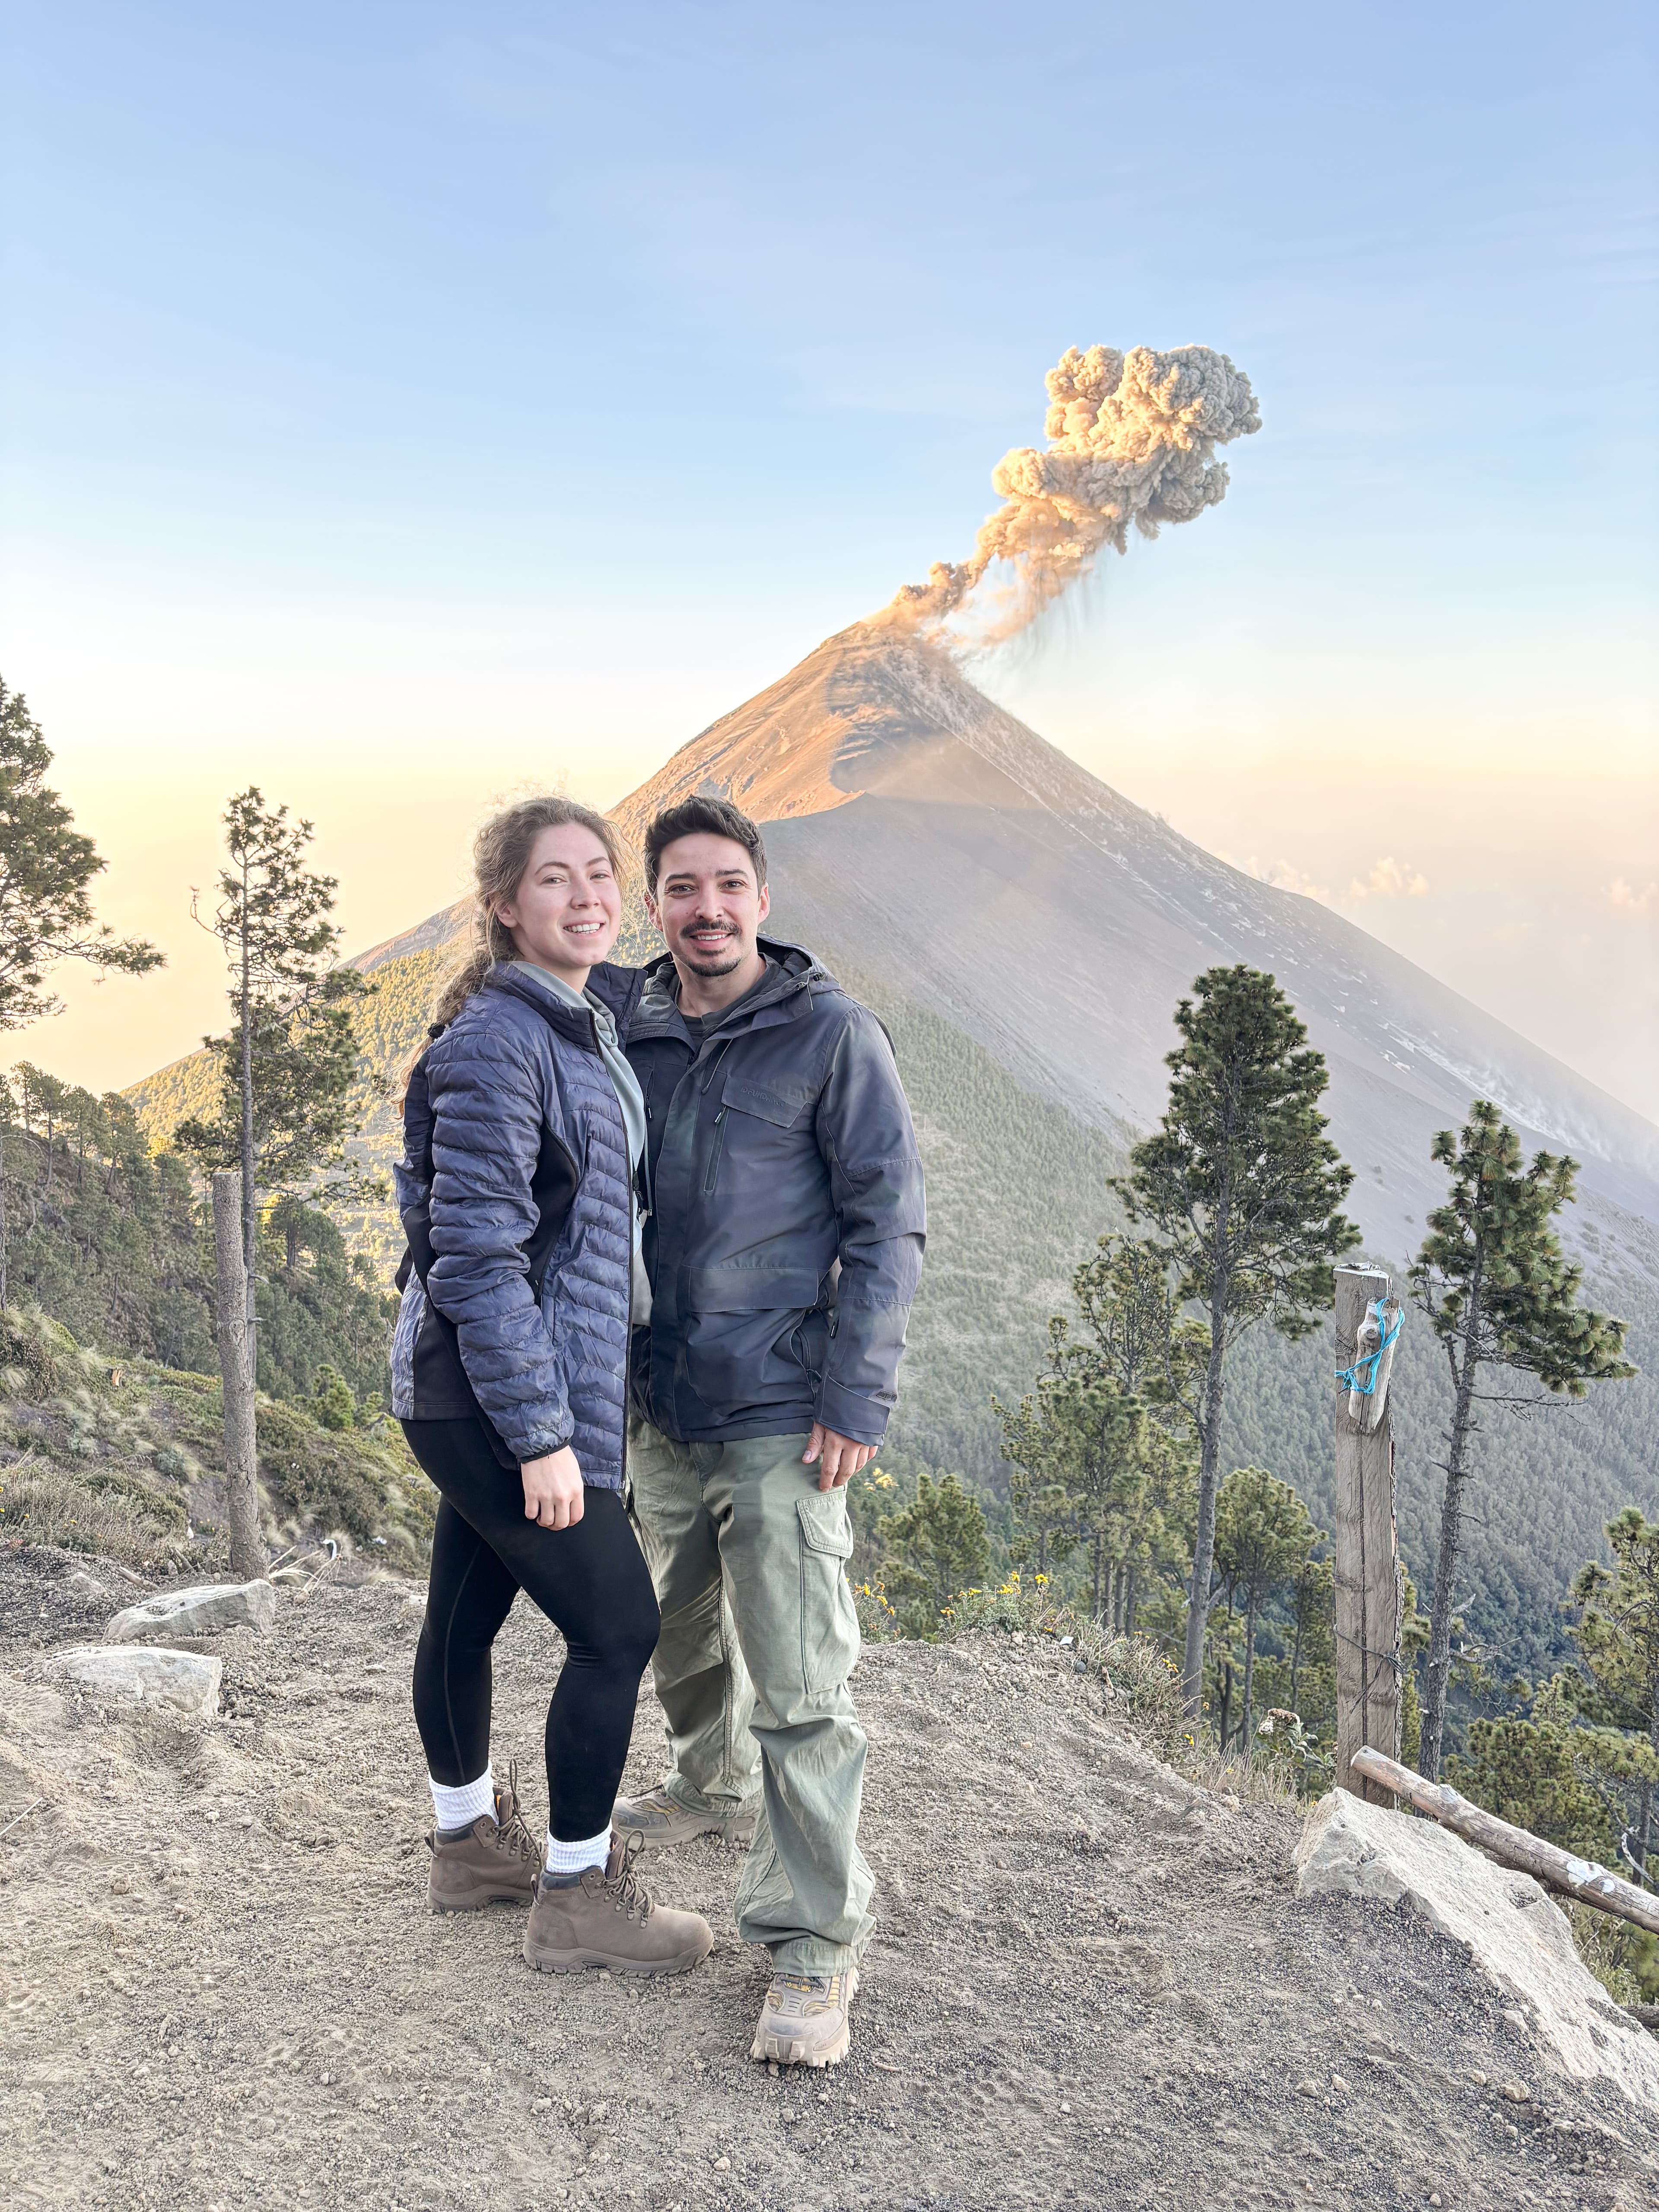
Then you reach base camp, perched around 3,750 m on the mountain's flank — and this is the reward the whole grind is for. You drop your pack and, directly across from you, sits Volcán de Fuego, one of the most active volcanoes in Central America, erupting roughly every 20 minutes. By day it coughs up grey plumes of ash. After dark it becomes something else entirely: orange lava spitting against a black sky, close enough that you feel the boom in your chest before you hear it.
Optional add-on: Is the Fuego ridge hike worth it?
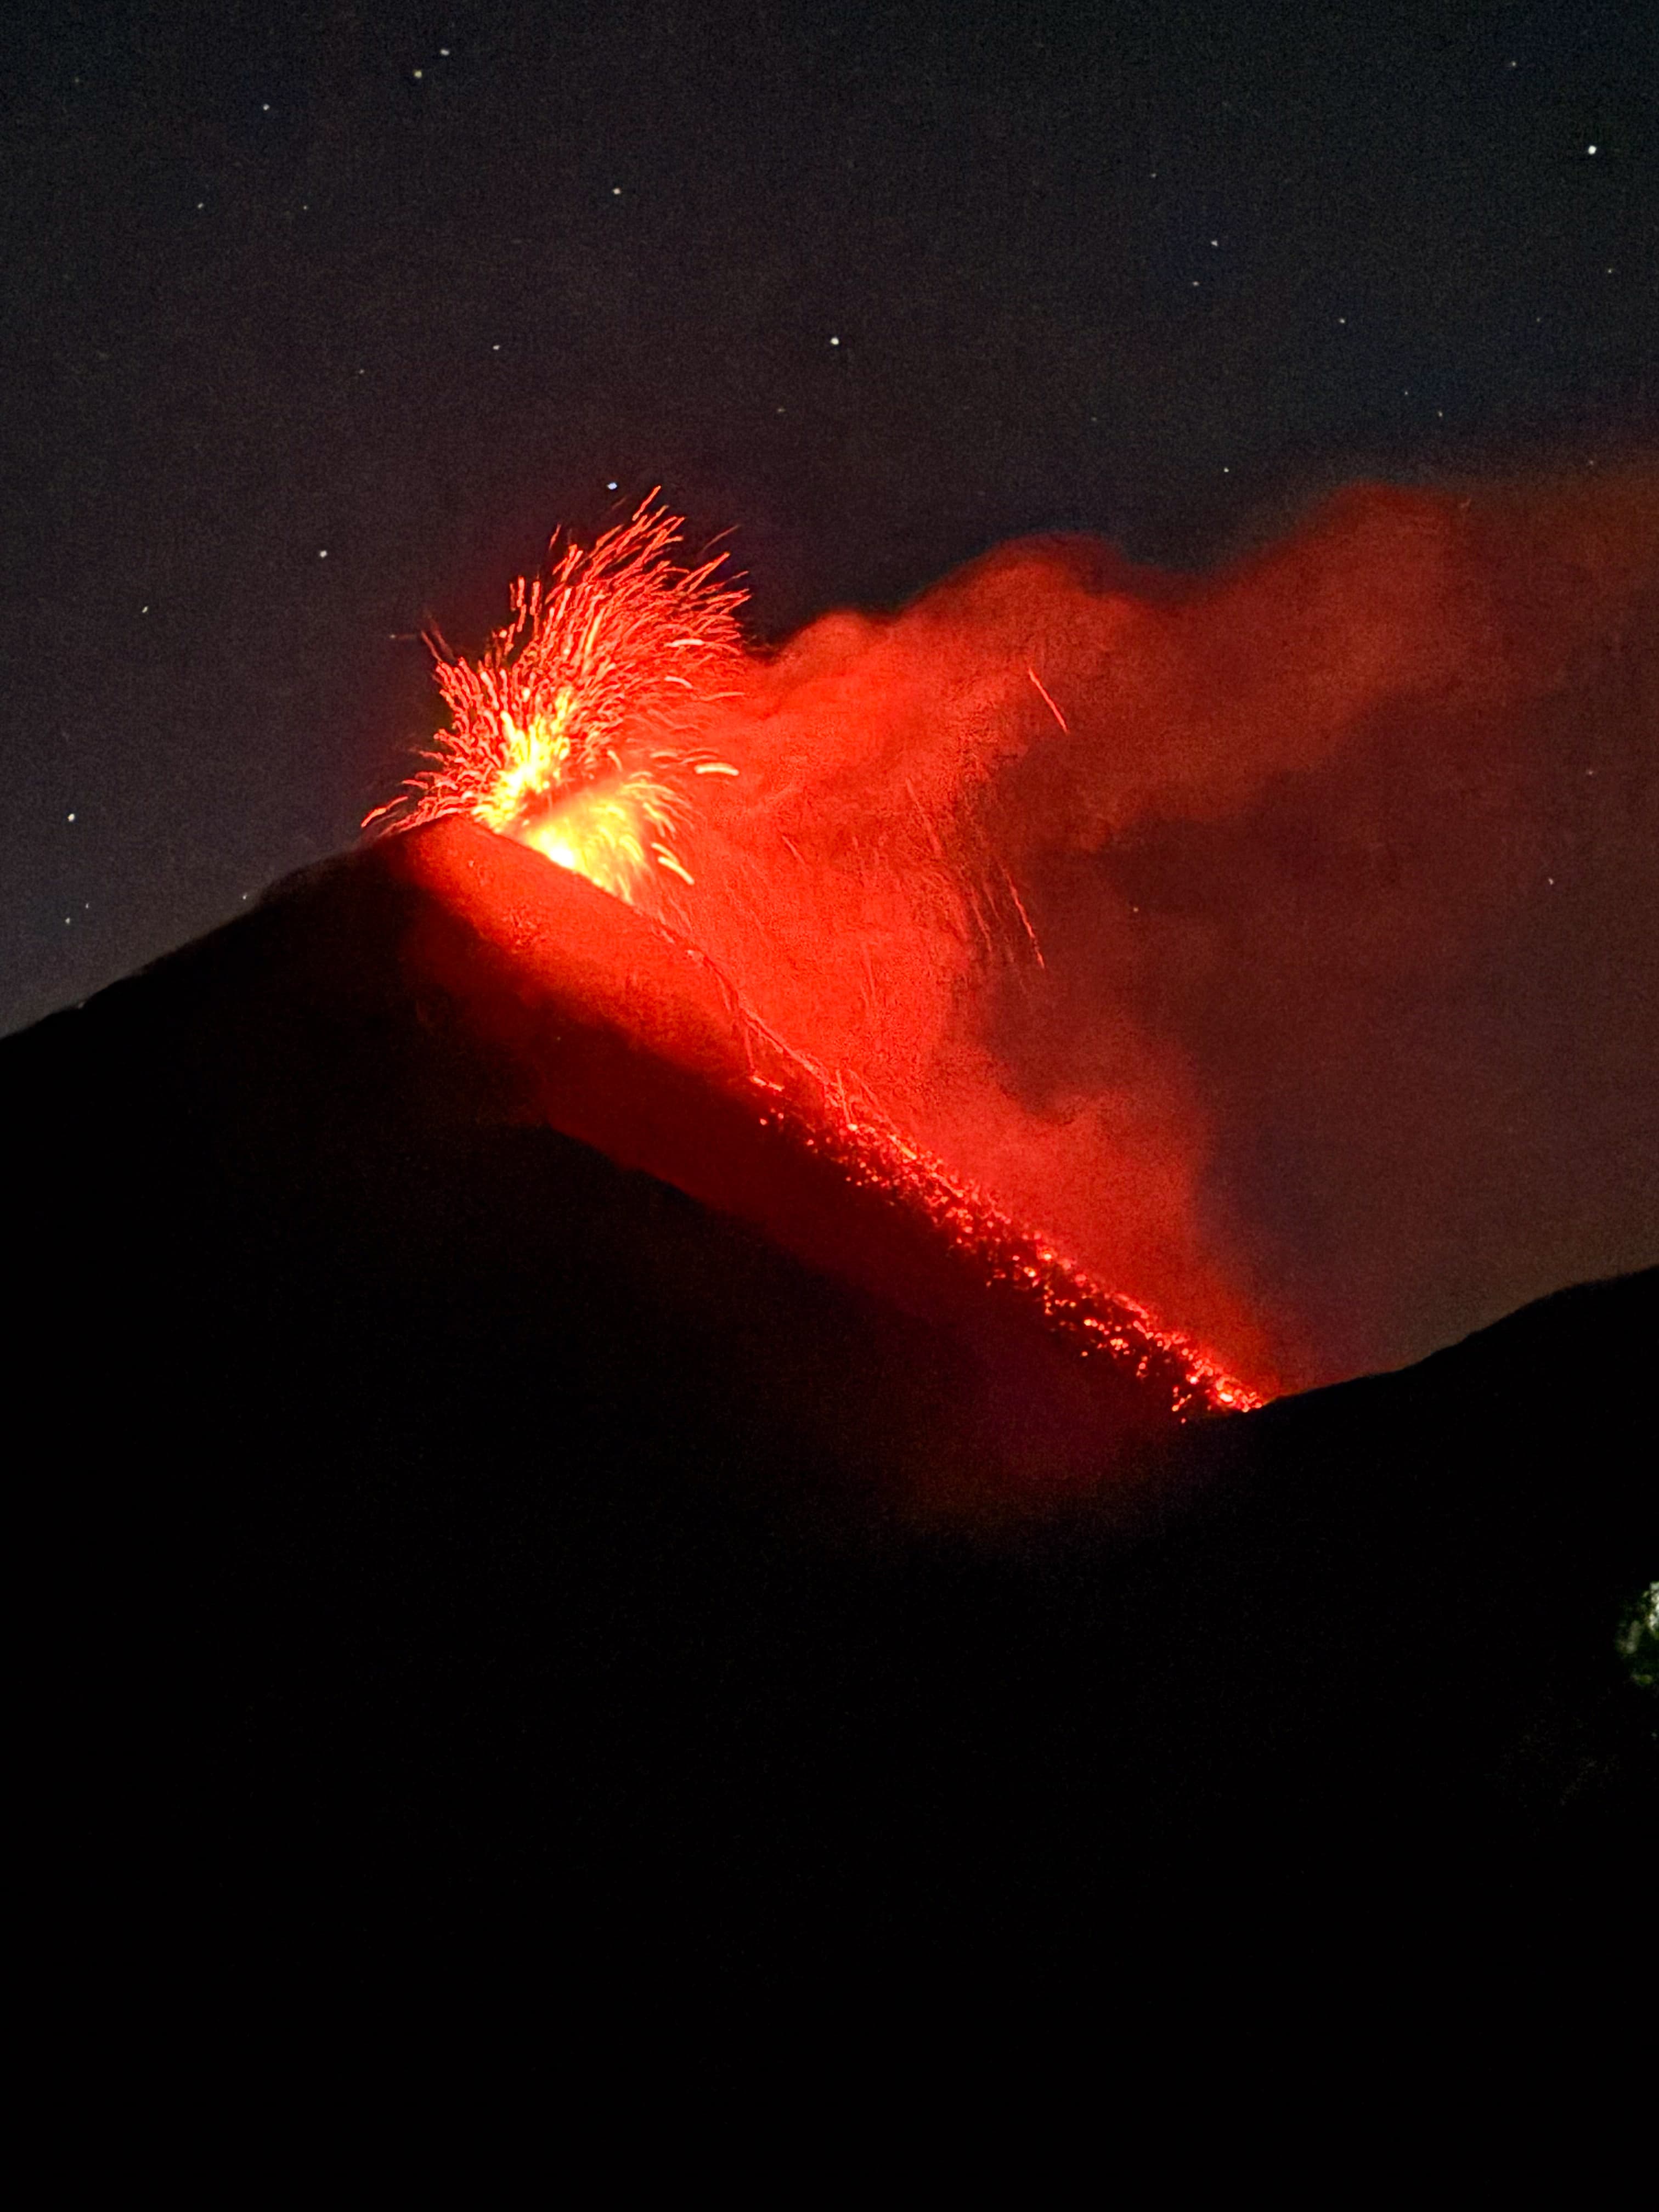
This is the extra trek that takes you closer to Fuego (and costs the additional $40 I mentioned). Is it worth the extra exhaustion for a solo hiker? It is — if you're the kind of person who's ready to face the challenge despite being wiped out, and you're confident in your fitness. I won't sugarcoat it: it's a total grind, and you'll be dead-tired afterward. And that's all before the longest, hardest descent of the trip, which you tackle early the next morning.
Day 2: The sunrise summit push
There's also the option to climb to the summit for sunrise — about two hours round-trip. Since I'd done the Fuego hike the night before, I let myself sleep in and recover (we only got back to base camp around 11 p.m., and I struggled to fall asleep because the eruption sounds kept tugging at my nerves).
Mostly it was the people who hadn't done Fuego who went for the sunrise summit. Those who did both confirmed the verdict: the sunrise summit was a 9/10 for difficulty, while Fuego was only an 8/10. My advice is to go entirely by how you feel on the day. Do you still have the strength, or not?
The Ultimate Acatenango Packing List for Women
Standard lists just say "bring warm clothes." Some operators skip the topic of gear altogether — partly because they make money renting you everything you might need. So before I went, I audited the exact layers, because temperatures drop below freezing at the summit. After hours of reading forums, talking to hikers on the ground, and eventually walking it in my own shoes, here's the short list I'm confident about.
Shoes
I did all the hikes in sturdy CAT boots, mainly because I was worried I'd want grip over flexibility. They delivered on grip, were hard and sturdy with great ankle protection, and weren't damaged after the rough treatment. If I did it again, I'd look at something with slightly more foot mobility: trail runners like the Salomon X Ultra 4 Mid or the Merrell Moab 3 Mid are both strong options for a hike of this difficulty.
Socks
While prepping for my Camino de Santiago, I learned that proper hiking socks make all the difference — by "proper" I mean a blend of merino, polyester, and spandex that wicks moisture, because trapped moisture is exactly what creates blisters. For every hike now I wear Jusclise socks, and they leave me blister-free.
The 3-layer clothing strategy
- •Base layer: Moisture-wicking thermal top and bottom. I wore my regular hiking leggings and a sports top, with a t-shirt over the top.
- •Mid layer: Fleece or a packable down jacket. I wore a regular hoodie.
- •Outer shell: Windproof and waterproof jacket. I rented this part (the warm jacket) from the tour company. We went in the dry season, so thankfully I didn't need rain cover.
Essential gear you can (and should) rent
- •Hiking poles — non-negotiable for the steep volcanic descent.
- •Headlamp — crucial for the night and sunrise summit pushes.
- •Winter gloves and a beanie.
Acatenango FAQs: the questions solo female travelers actually ask
Conclusion
If you made it this far, here's the last thing I'll say. When I was standing on that knife ridge — freezing, shaking, watching the lava explode into the dark — I felt every muscle in my body and an immense gratitude for living in a body that can carry me to places like this, places that aren't easy to reach. I had a little cry and a sentimental moment, thinking this was the experience of my lifetime, of my 20s (I was 29, soon to be 30), of my youth. That's what it's all about.
So if you've researched this far, I genuinely encourage you: don't overthink it. Make room for it. It will change you — you'll come down that mountain a completely different person.
Where to Stay in Antigua Before & After the Hike
You'll want to base yourself in Antigua — it's where all tour operators pick up, and it's genuinely one of the prettiest colonial cities in Latin America. Here are the three I'd point you toward.
Antigua Centro · $
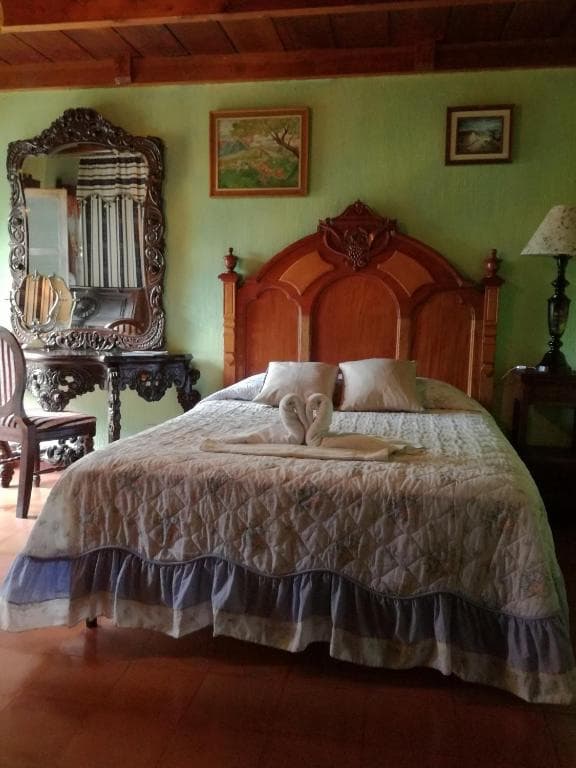
Old-school and cozy — the kind of place that feels like it's barely changed in 30 years, which is exactly the charm.
Check availability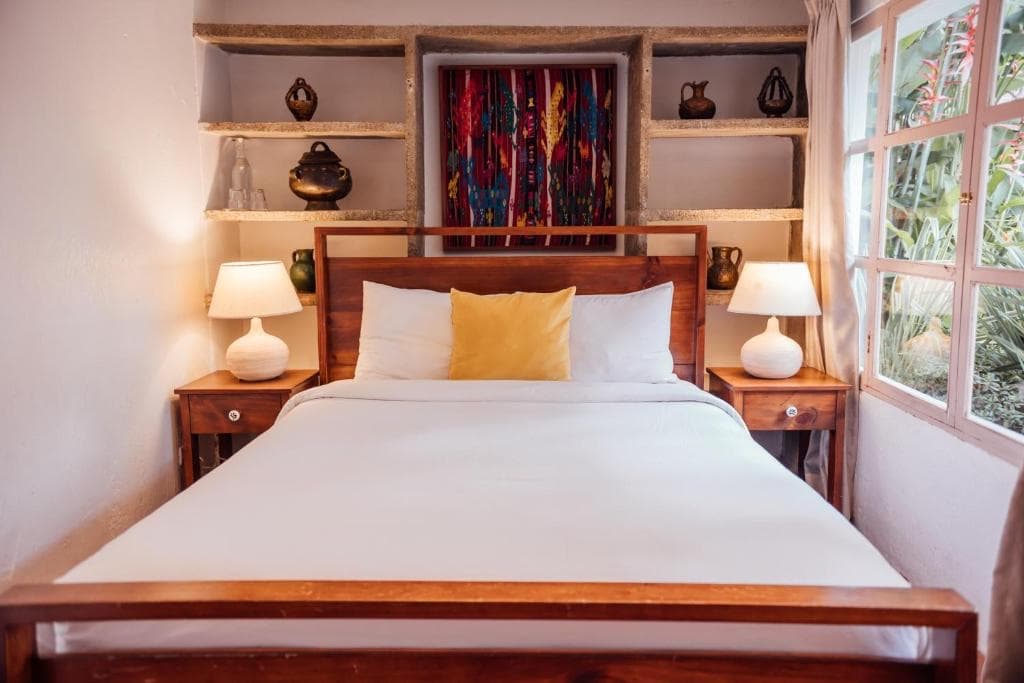
Antigua Centro · $$
Stylish boutique with a great courtyard and central location. Good energy, good breakfast.
Check availability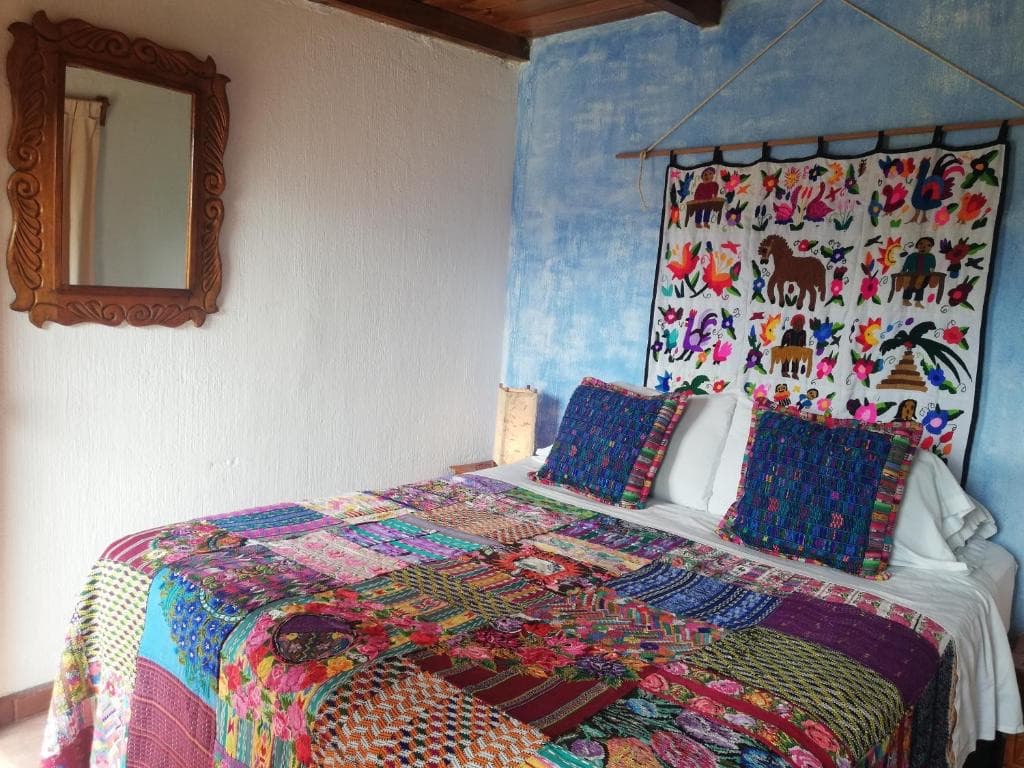
Antigua Centro · $
One of the best-known hostels in Antigua — social, well-run, and full of the kind of people you actually want to meet before a big hike.
Check availability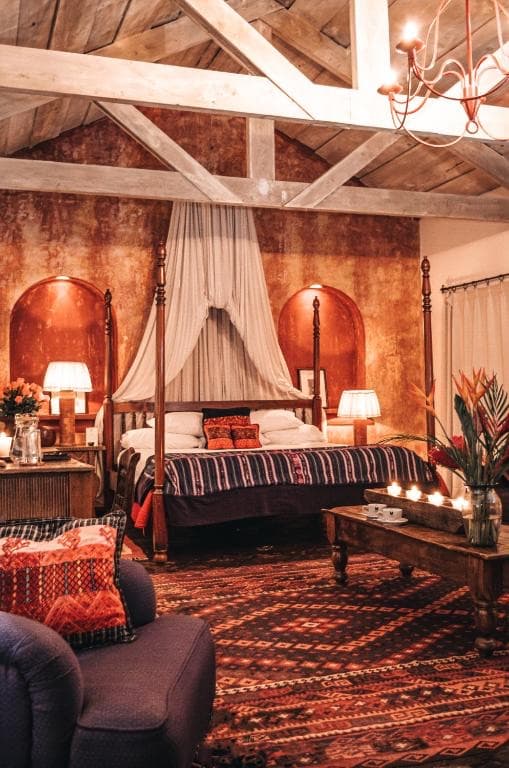
Antigua Centro · $$$
One of the best hotels in Antigua — impeccable service, gorgeous gardens, and a restaurant worth booking even if you're not staying here.
Check availabilityWhile you're in Antigua
Antigua has one of the best coffee scenes I've found anywhere — which makes sense, given you're in the middle of Guatemala's coffee country. I spent a few days before the hike auditing the best spots to work from, and it turned into its own guide.
5 Work-Friendly Cafés in Antigua — Wi-Fi speeds, outlets & coffee quality reviewed →